Ingredients
Method
Step 1: Prepare Your Pan and Make the Crust
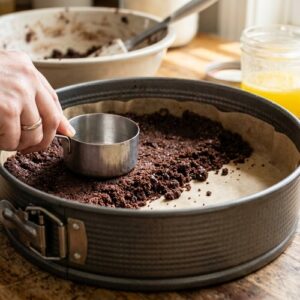
- Start by lining a 9-inch springform pan with parchment paper on the bottom—this makes unmolding infinitely easier. If you don't have parchment, a light butter coating works fine, but parchment is worth having on hand. Have your kids help crush the chocolate sandwich cookies. Remove and discard the cream filling (or sneak it to them as a taste-test reward), then place the wafers in a sealed gallon-sized bag. Let younger children go to town with a rolling pin or meat mallet—this should take 2-3 minutes and result in fine crumbs, almost like sand. Supervise to ensure the bag doesn't burst and chocolate dust doesn't escape everywhere (though honestly, that's half the fun). Pour the cookie crumbs into a bowl, add the kosher salt, then drizzle with the melted butter. Stir until the mixture resembles wet sand—every crumb should be lightly coated. Press this firmly into the bottom of your prepared pan, creating an even layer. Use the bottom of a measuring cup to compress it really well; a loose crust will collapse when you add the filling. Let this sit while you prepare the filling.
Step 2: Bloom the Gelatin
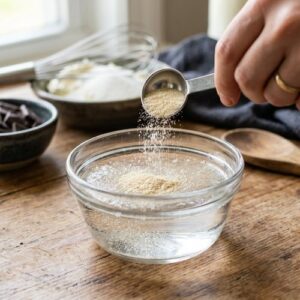
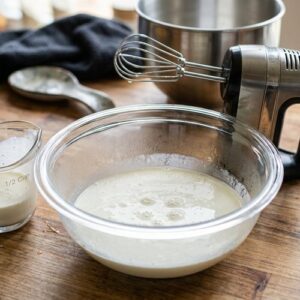
- This is a crucial step that separates professional-level texture from grainy, weepy cheesecake. Pour ¼ cup cold water into a small bowl and sprinkle the unflavored gelatin over the surface. Do not stir yet. Let it sit for 2-3 minutes—this is called "blooming," and it allows the gelatin granules to absorb water and become hydrated. This prevents lumps later. After blooming, heat this mixture for about 20 seconds in the microwave (or place the bowl over simmering water) until the gelatin is completely dissolved and the liquid is clear. It should feel warm but not hot to your touch—we're looking for about 110°F. Set this aside to cool slightly while you work on the cream cheese mixture. Older kids can handle this step independently with microwave supervision.
Step 3: Whip Your Heavy Cream
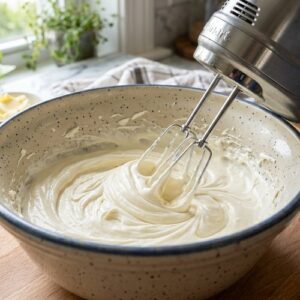
- This happens before mixing the cream cheese, and it's important to keep everything cold. Pour ½ cup of the cold heavy whipping cream into a clean bowl (not the same bowl as your gelatin). Using an electric mixer, whip on medium-high speed for 2-3 minutes until stiff peaks form—when you lift the beaters, the cream should stand up straight and proud. Transfer this whipped cream to a separate bowl and refrigerate it. This is your secret weapon for keeping the filling light and cloud-like rather than dense and heavy. Kids love operating the mixer and watching cream transform into fluffy clouds.
Step 4: Build the Chocolate Filling Base
- In a large bowl, beat the softened cream cheese on medium speed for about 2 minutes until it's completely smooth and creamy. Scrape down the sides of the bowl with a spatula—this is important for ensuring no lumps hide in corners. Add the sifted powdered sugar and cocoa powder, then beat on medium speed for another 2 minutes. The mixture should be rich, dark brown, and completely uniform. At this point, add the vanilla extract and melted dark chocolate, beating until fully incorporated. Now for the magic: slowly pour the cooled (but still slightly warm) dissolved gelatin into the chocolate mixture while beating on low speed. This even distribution prevents lumps and ensures the gelatin incorporates smoothly throughout. Beat for about 1 minute until completely combined.
Step 5: Fold in the Whipped Cream
- This is where delicate technique matters. Using a rubber spatula, gently fold the reserved whipped cream into the chocolate mixture in two additions. Folding (not stirring!) preserves the air bubbles you worked so hard to whip into that cream, keeping the texture light and airy rather than dense. To fold: scoop the spatula down through the center, across the bottom, and up the side of the bowl in one motion, turning the bowl slightly with each fold. Repeat until no white streaks of whipped cream are visible. This should take about 30-45 seconds per addition. Resist the urge to overmix—a few visible streaks are better than deflating all that beautiful whipped cream.

Step 6: Set the Filling in the Pan
- Pour the chocolate filling over your prepared cookie crust, spreading it in an even layer with an offset spatula or the back of a spoon. Smooth the top as much as possible—this is purely aesthetic, but a smooth top looks more professional. Refrigerate for at least 4 hours, or up to overnight. The gelatin needs time to set and stabilize the filling. You can prepare the cherry topping while this chills, or make it ahead of time and store it separately.

Step 7: Prepare the Cherry Compote
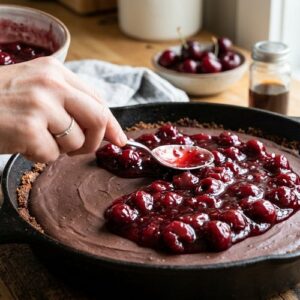
- While your chocolate filling sets, let's make the cherry topping. In a medium saucepan, combine the pitted cherries, granulated sugar, corn starch, and lemon juice. If using frozen cherries, make sure they're thawed and any excess liquid is drained (reserve this liquid though—it's flavorful). Stir gently over medium heat. The cherries will begin to release their juices after about 2 minutes. Continue stirring occasionally until the mixture comes to a gentle simmer, about 3-5 minutes. Once simmering, cook for another 2-3 minutes. The corn starch will thicken the natural cherry juices into a glossy, jammy consistency. Remove from heat and stir in the almond extract (if using). Let this cool completely—it'll thicken further as it cools. Important: do not pour warm cherry compote onto your set cheesecake, as the warmth can cause the chocolate layer to become weepy and unstable. Store the cooled compote in an airtight container in the refrigerator until you're ready to serve.

Step 8: Assemble and Top
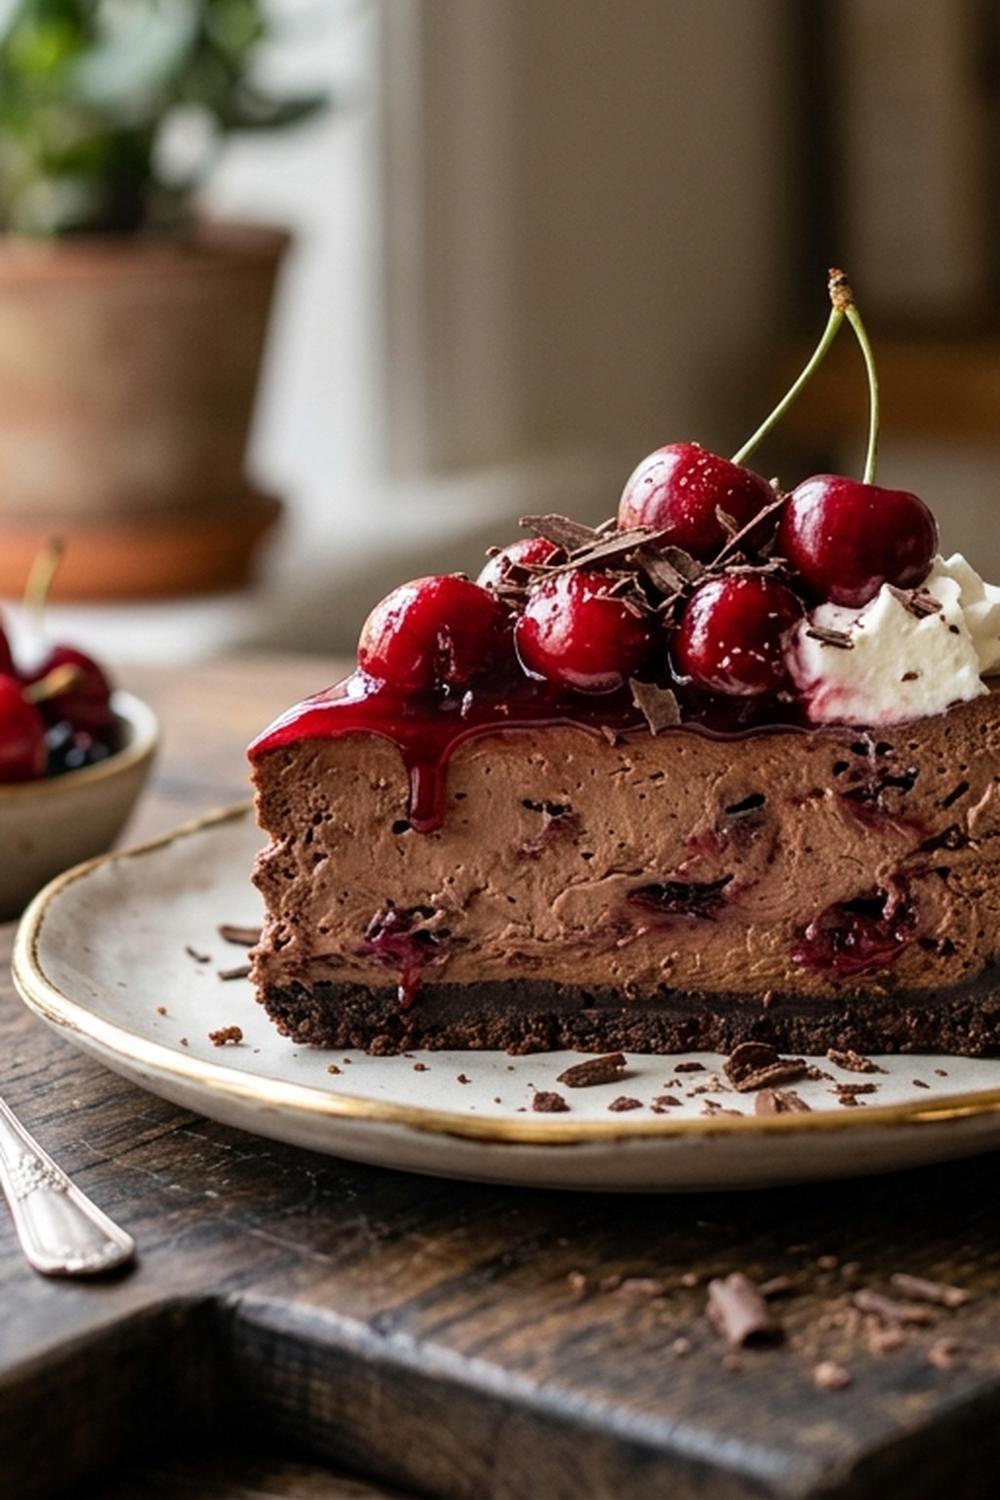
- Once your chocolate layer is completely set (you should be able to touch the surface and have it feel firm), carefully spoon or spread the cooled cherry compote over the top. Spread it gently and evenly—you want it to coat the entire surface but stay contained within the springform pan. Return to the refrigerator for at least 30 minutes (though you can hold it refrigerated for up to 2 days before serving). When you're ready to serve, run a hot knife around the edges of the pan to loosen it slightly, then carefully release the springform clamp. The cheesecake should slide out cleanly, though if you used parchment on the bottom, you can leave it in place for a cleaner presentation.