Ingredients
Equipment
Method
Step 1: Brew Your Coffee
- Start by brewing 2/3 cup of coffee. Whether you’re a pour-over enthusiast or a fan of the coffee maker, make it as strong or mild as you prefer. Allow it to cool if desired. The cooling time is optional, but warm coffee can melt ice cubes faster.
Step 2: Mix Ingredients
- In a glass or a mixing bowl, combine your brewed coffee, milk, sugar, cocoa powder, and vanilla extract. Use a whisk or a spoon to blend everything until the sugar and cocoa dissolve. This will create a well-balanced mixture.
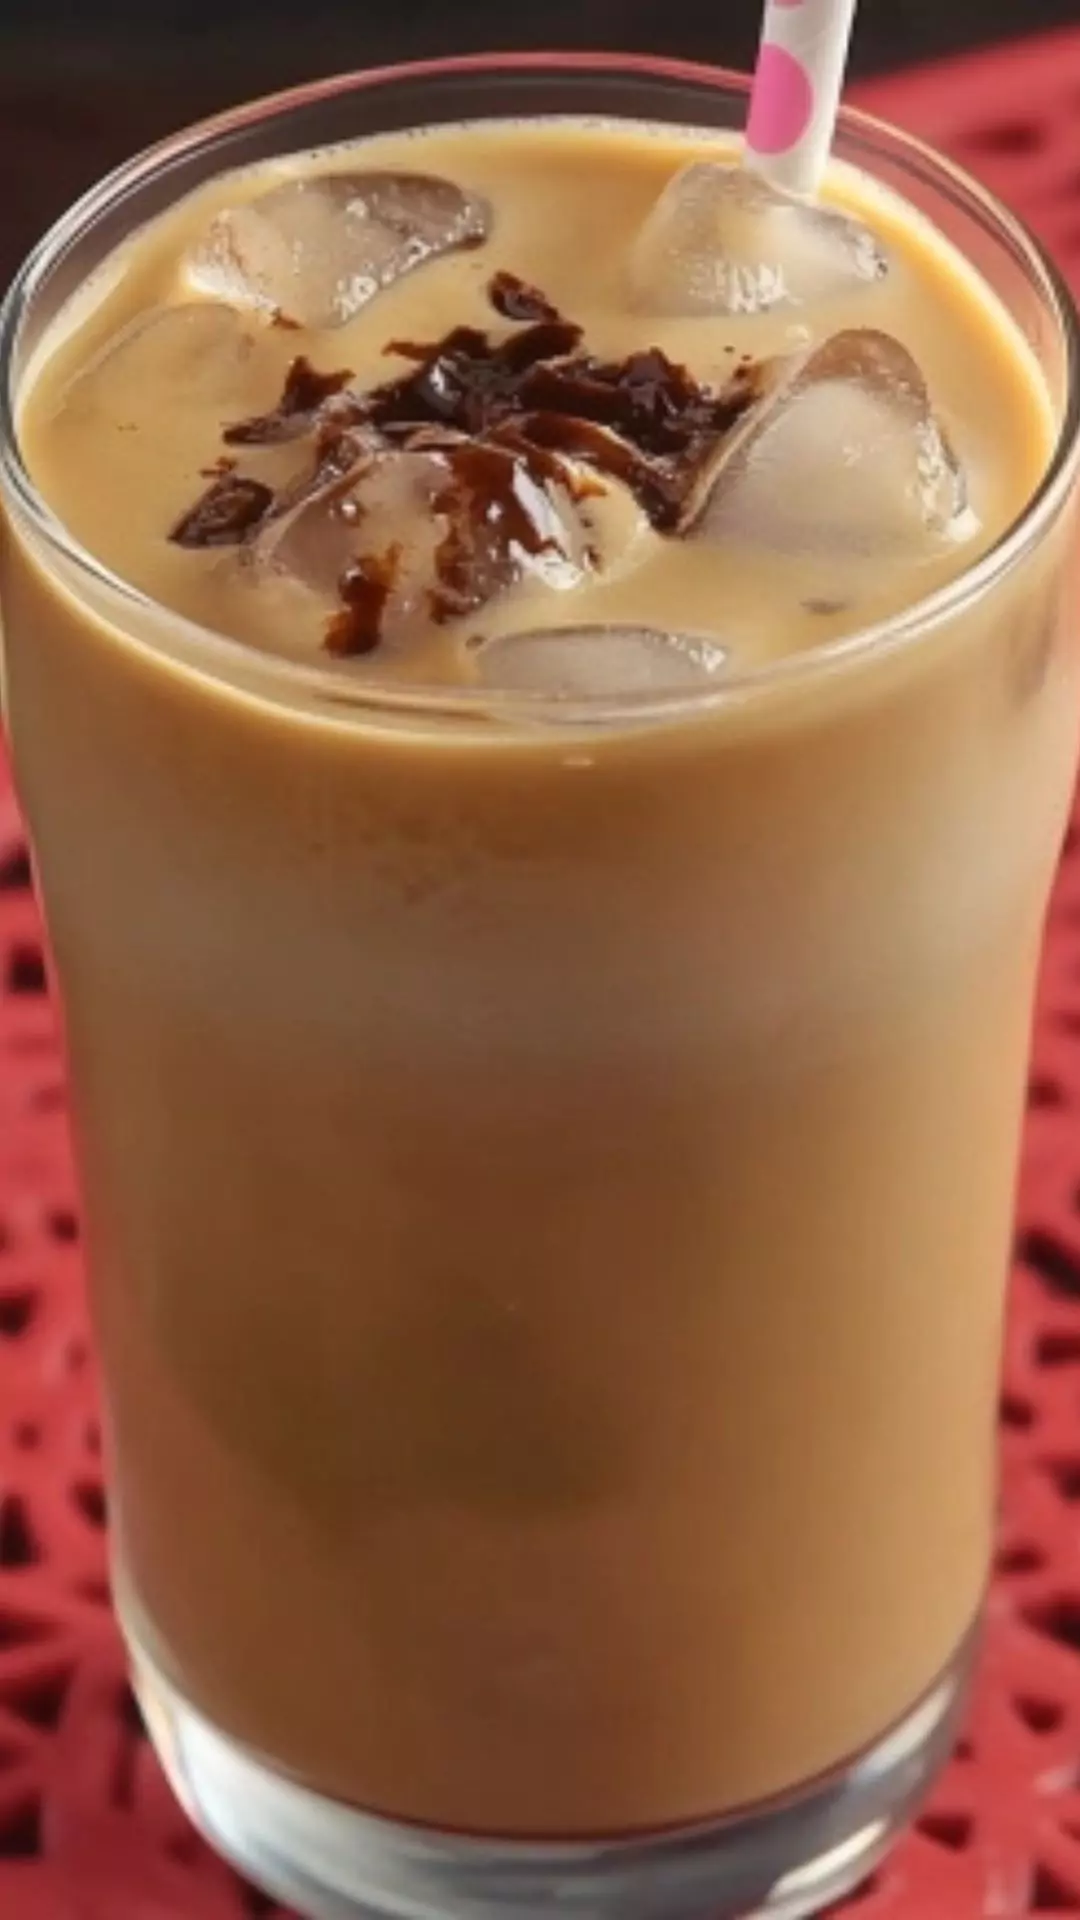
Step 3: Prepare the Glass
- Take a tall glass and fill it with ice cubes. This is where the magic happens. The ice will cool the drink down and keep it frosty, ensuring each sip is refreshing.
Step 4: Pour and Serve
- Pour your coffee mixture over the ice-filled glass. You’ll see the colors swirl, a beautiful sight to behold! Give it a gentle stir if desired, and it’s ready to enjoy.
Step 5: Garnish (Optional)
- If you want to be a little fancy, add a dollop of whipped cream on top or a sprinkle of cocoa for a more aesthetic appeal.
Nutrition
Notes
To enhance your iced coffee experience, consider these helpful hints:
- Experiment with Coffee Strength: Adjust the strength of your coffee based on your caffeine preference. A darker roast can really amplify the flavor.
- Chill Your Milk: Use cold milk instead of room temperature for an extra refreshing drink.
- Use Sweetener Alternatives: If you’re avoiding sugar, try natural sweeteners like honey or maple syrup.
- Flavor It Up: Add flavored syrups such as caramel or hazelnut for a unique twist.
- Store Leftover Coffee: If you have leftover brewed coffee, store it in the fridge. Just make sure to consume it within a few days for the best taste.