Ingredients
Method
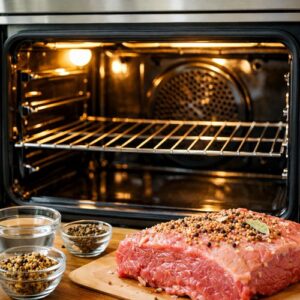
Step 1: Prepare Your Oven and Meat Properly
- Start by preheating your oven to 325°F and positioning a rack in the middle of your oven cavity. This temperature is crucial because it allows the meat to cook gently enough to remain tender while still developing that gorgeous caramelized exterior. Too hot, and you'll get a crust but lose the tenderness. Too cool, and you won't get that visual impact we're after. While your oven preheats, rinse your corned beef under cold running water for about 30 seconds, rotating it to wash away excess surface brine. This step is visual as well as culinary—it prevents an overly salty crust from forming. Pat it completely dry with paper towels; moisture is the enemy of browning. Place it fat-side up in the center of your roasting pan. The fat side up is intentional—we want that fat to render slowly down over the meat, creating moisture and flavor, while the exposed surface browns to mahogany perfection.
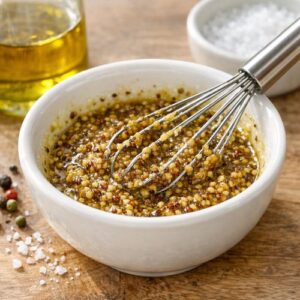
Step 2: Create Your Mustard Seasoning Rub
- In a small bowl, whisk together 4 tablespoons whole grain mustard, 2 tablespoons extra virgin olive oil, a generous three-finger pinch of sea salt, and about 12 grinds of freshly ground black pepper. The mustard serves multiple purposes: it adds tangy flavor depth, its dark color creates visual drama on the meat surface, and those visible mustard seeds become part of the beautiful crust. Rub this mixture generously all over the top and sides of the corned beef, but leave the bottom alone since it'll be in contact with the pan. Focus especially on that fat cap—this is where you want the most generous application. The oil helps the mustard adhere and promotes browning. This step determines much of your final visual presentation, so take your time and ensure even coverage.
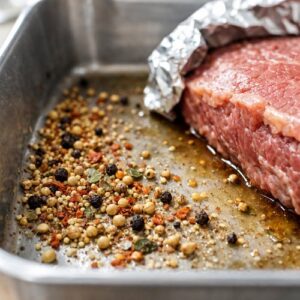
Step 3: Braise Low and Slow
- Sprinkle the entire contents of your spice seasoning packet directly into the bottom of the roasting pan, avoiding the meat itself. This distributes the seasoning into the liquid below, infusing everything with that classic corned beef brine flavor. Now carefully pour about 4 cups of water into the pan, aiming for the corners and edges rather than directly onto your mustard-coated meat—we want to keep that rub intact and in contact with the surface for optimal browning. If you have good-quality beef broth, substitute 1 cup of it for 1 cup of water; this adds subtle richness to your final pan juices. Cover the pan tightly with aluminum foil, creating a seal that traps steam for gentle, moist cooking. Slide it into your preheated 325°F oven and set a timer for 2 hours. This long, slow braise is what transforms tough muscle fibers into tender, sliceable meat.
Step 4: Prepare Your Vegetables While the Meat Cooks
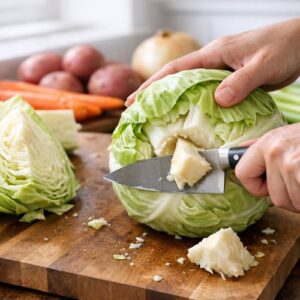
- During the first hour or so of braising, prep your vegetables so they're ready to go when needed. Using a sharp chef's knife, remove the stem and core from your green cabbage, then cut it into 6 wedges of roughly equal size. Peel your 6 carrots and cut them diagonally into 2-inch chunks—the diagonal cut increases surface area for caramelization and creates more visually interesting pieces. Peel your yellow onion and cut it into thick wedges, keeping the root end intact so each piece holds together. Rinse your 1½ pounds of small gold potatoes and halve them (or leave whole if they're truly tiny). Arrange all prepped vegetables on a sheet pan or cutting board nearby, ready to add to the roasting pan when the timer sounds. Having everything prepped is a professional move that keeps your cooking flow smooth and prevents scrambling.
Step 5: Add Vegetables and Increase Heat
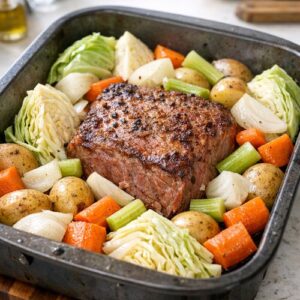
- After 2 hours, carefully remove the hot roasting pan from the oven (use oven mitts—this is steaming hot). Increase your oven temperature to 350°F. The meat should be very tender now; you can test this by piercing it with a fork, which should meet little resistance. Now here's where the visual magic begins: arrange your prepared vegetables around the corned beef in a logical pattern. Place cabbage wedges flat-side down on one side, carrots scattered in clusters, potatoes nestled into open spaces, and onion wedges distributed throughout. This intentional arrangement means your final platter will look composed rather than chaotic. Using a spoon or ladle, generously coat each vegetable with the hot pan juices—this is the basting step that helps them brown beautifully and absorb that savory liquid. Cover the pan again with foil and return it to the oven, now at 350°F, for 30 minutes. This initial covered time allows the vegetables to soften slightly while the oven temperature increases.
Step 6: Uncover and Achieve Golden Caramelization
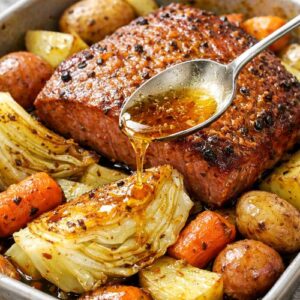
- Remove the foil and spoon additional pan juices over all the vegetables once more. This is crucial—the repeated basting is what creates that glossy, caramelized finish that photographs beautifully. Return the uncovered pan to the oven and roast for 45 minutes to 1 hour, or until the potatoes are fork-tender and the cabbage edges are deeply golden with some charred spots. I mention charred spots intentionally. That's not burning—that's caramelization. Those dark edges are where natural sugars have concentrated and browned, creating complex flavors and dramatic visual contrast. This is the difference between boiled corned beef and cabbage and this restaurant-quality version. Around the 30-minute mark of this uncovered roasting, quickly open the oven and baste one more time if you notice the vegetables drying out. Different ovens vary in moisture levels, so adjust based on what you see.
Step 7: Rest, Slice, and Plate
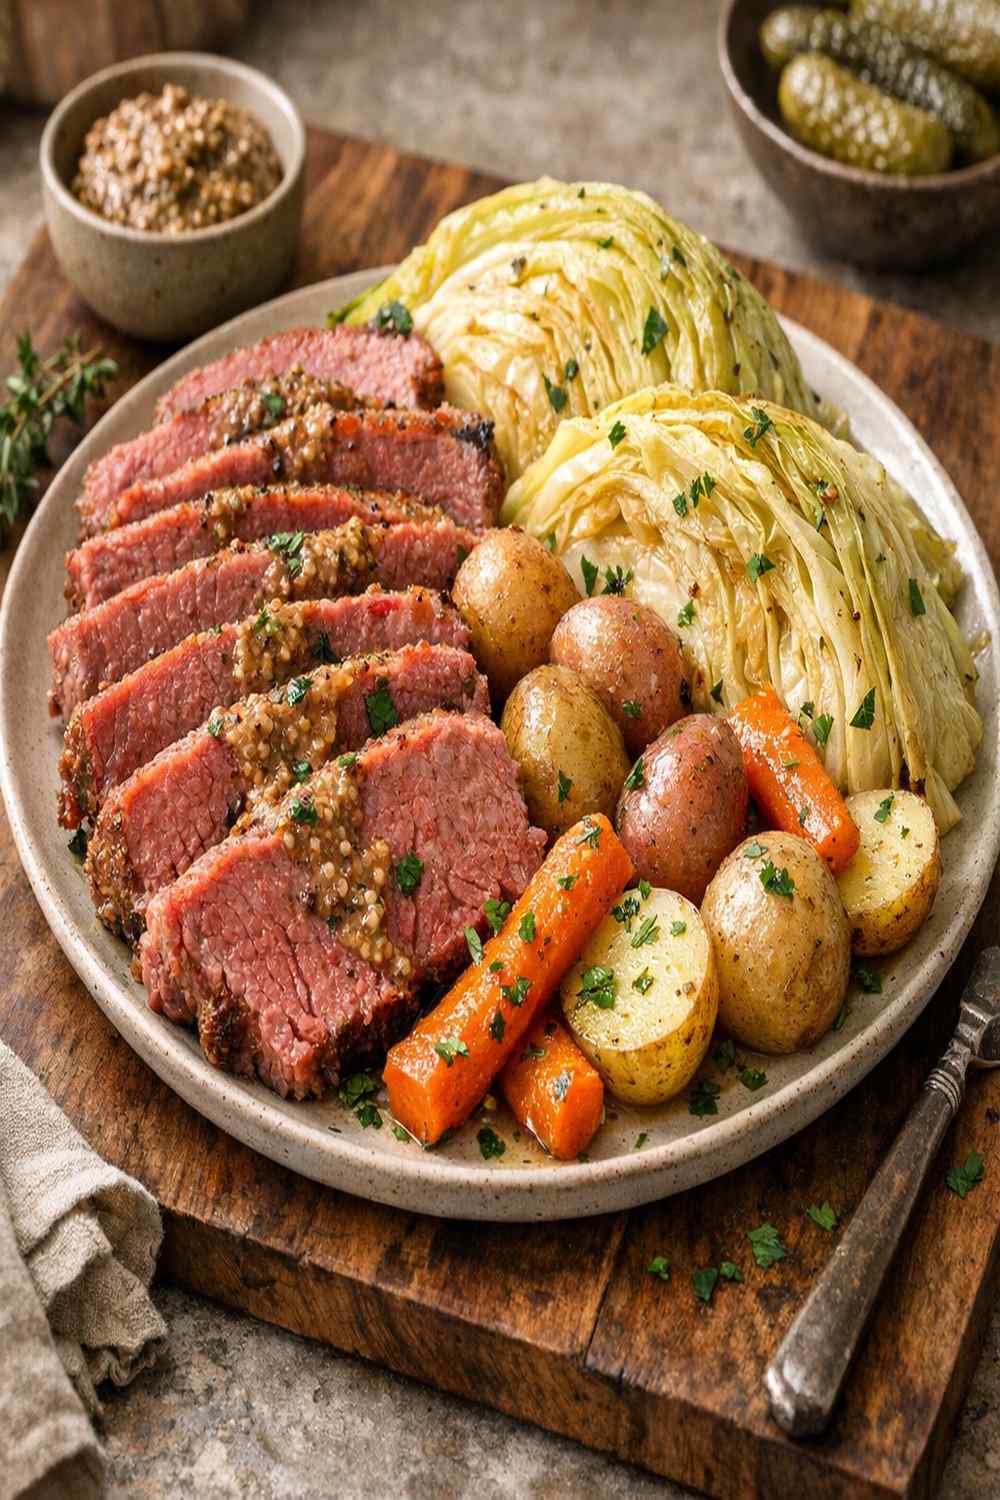
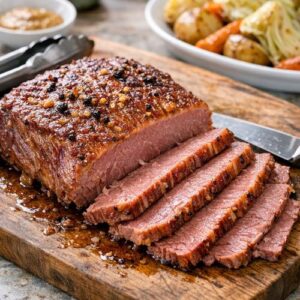
- When everything looks golden and tender, transfer your corned beef to a cutting board using tongs or two sturdy spatulas. Let it rest for 5 minutes—this allows the juices to redistribute throughout the meat, ensuring every slice stays moist rather than weeping liquid. During this rest, your vegetables stay warm in the oven if needed (cover loosely with foil to maintain warmth). Using a sharp serrated knife, slice the corned beef thinly against the grain. Look at your meat—you'll see muscle fibers running in a particular direction. Slicing perpendicular to those fibers breaks them apart, creating tender bites instead of chewy ones. This is a technique that shows immediately in the eating experience and visually in how neat your slices look.
Nutrition
Notes
- Capture at golden hour or use window light - This dish's warm tones—the pink meat, golden vegetables, mahogany crust—absolutely sing in warm, diffused natural light. Photograph within 2 hours of sunset if possible, or use soft window light from an overcast day. Harsh overhead lighting flattens the colors and hides the texture. If you must use flash, bounce it off a white surface to diffuse it.
- Shoot from a 45-degree angle first, then overhead - Start by positioning your camera at about 45 degrees to the plate, which shows the height and layering beautifully and displays that pink meat interior. Then move directly overhead for a composed, bird's-eye view that shows how everything connects. You'll find one angle feels more dynamic; that's your hero shot.
- Include a sauce dish or horseradish on the side - A small ramekin of creamy horseradish sauce or pan juices in the background creates context and adds another visual element. Partially blur the background using depth of field (lower f-stop if possible) so it frames rather than competes with your main dish.