Ingredients
Method
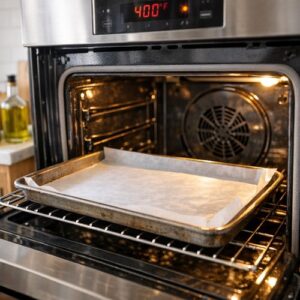
Step 1: Prepare Your Oven and Pan
- Preheat your oven to 400°F—this temperature is the sweet spot for rendering chicken skin without burning the seasoning mixture we'll add later. While the oven climbs to temperature, line a large baking sheet with aluminum foil, shiny side facing up. The reflective surface helps heat distribute more evenly across the pan bottom.
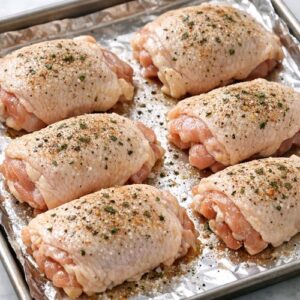
Step 2: Position and Season Your Chicken
- Arrange the six chicken thighs on your prepared baking sheet, skin-side up, with the meatiest portions facing skyward. Space them about an inch apart—this allows air to circulate around each piece, promoting even cooking and optimal crisping. Pat the skin completely dry with paper towels; any moisture on the surface will steam rather than crisp. Now generously season the skin with fine sea salt and freshly ground black pepper. I mean really generous—don't be shy here. This initial seasoning layer creates a flavorful crust and draws out any remaining surface moisture. The salt is working to dehydrate the skin slightly, which paradoxically helps it crisp more effectively.
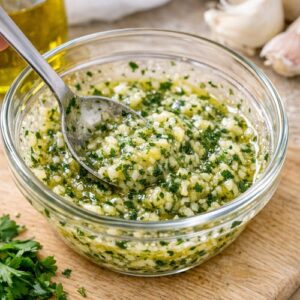
Step 3: Build Your Herb Coating
- In a small mixing bowl, combine the dry ranch dressing blend with your minced fresh garlic and the extra virgin olive oil. Stir this together into a paste-like consistency—you're creating a concentrated flavor mixture that will adhere to the chicken and infuse it as it bakes. The olive oil is your binding agent, helping the dried herbs cling to the meat. Add the fresh lemon juice to this mixture, which serves two purposes: it thins the paste slightly so you can spread it more easily, and it adds brightness that balances the richness of both the olive oil and the herbal seasoning blend. The acidity also helps tenderize the meat through gentle enzymatic action.
Step 4: Initial Bake for Skin Crisping
- Slide your seasoned chicken into the preheated oven and let it bake for 25 minutes without any interruptions. This is crucial timing—you're allowing the skin to begin rendering its fat and crisping without the herb mixture burning. During this phase, the internal fat in the skin is melting, creating a protective layer that will eventually crisps beautifully. Resist the urge to check on it constantly. Every time you open the oven, you're releasing heat and disrupting that critical cooking environment. Set a timer and trust the process.
Step 5: Apply the Ranch Herb Mixture
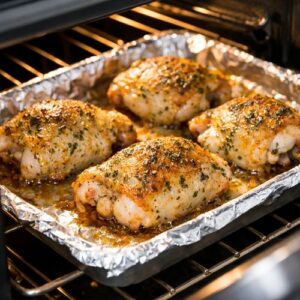
- When your timer sounds at 25 minutes, carefully remove the baking sheet from the oven. The chicken skin should look golden and beginning to crisp at the edges. Using a basting brush or the back of a spoon, generously coat each chicken thigh with your prepared ranch herb mixture, making sure to cover all exposed skin. This is where the magic deepens—the herb mixture will begin to adhere to the already-warming skin and seep into the meat, creating layers of savory ranch flavor. Don't worry about being neat; this is food, not a gallery.

Step 6: Continue Baking to Temperature
- Return the baking sheet to the oven and continue cooking until the internal temperature of the chicken reaches 165°F when measured in the thickest part of the largest thighs. Using an instant-read food thermometer, insert it into the meatiest portion of the chicken without touching bone—bone conducts heat differently and will give you an inaccurate reading. Depending on the size of your thighs, this usually takes an additional 15 to 20 minutes. You're looking for the skin to deepen in color to a beautiful golden-brown, with some darker spots where the herbs are caramelizing.

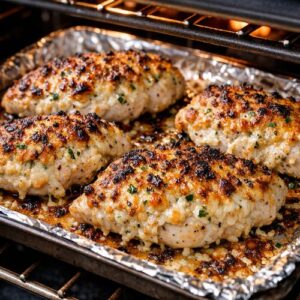
Step 7: Optional Broil for Extra Crunch
- For those who want maximum crispiness, switch your oven to the broil setting for the final 5 minutes of cooking. Move your baking sheet to the upper rack, close to the heating element. Watch it vigilantly—this step can go from golden to burned in seconds. You're looking for the skin to blister slightly and any exposed edges to caramelize. The moment you see the skin transition from golden to amber and slightly darkened, remove it immediately. This technique is optional but creates that ultimate textural contrast that makes people ask for your recipe.
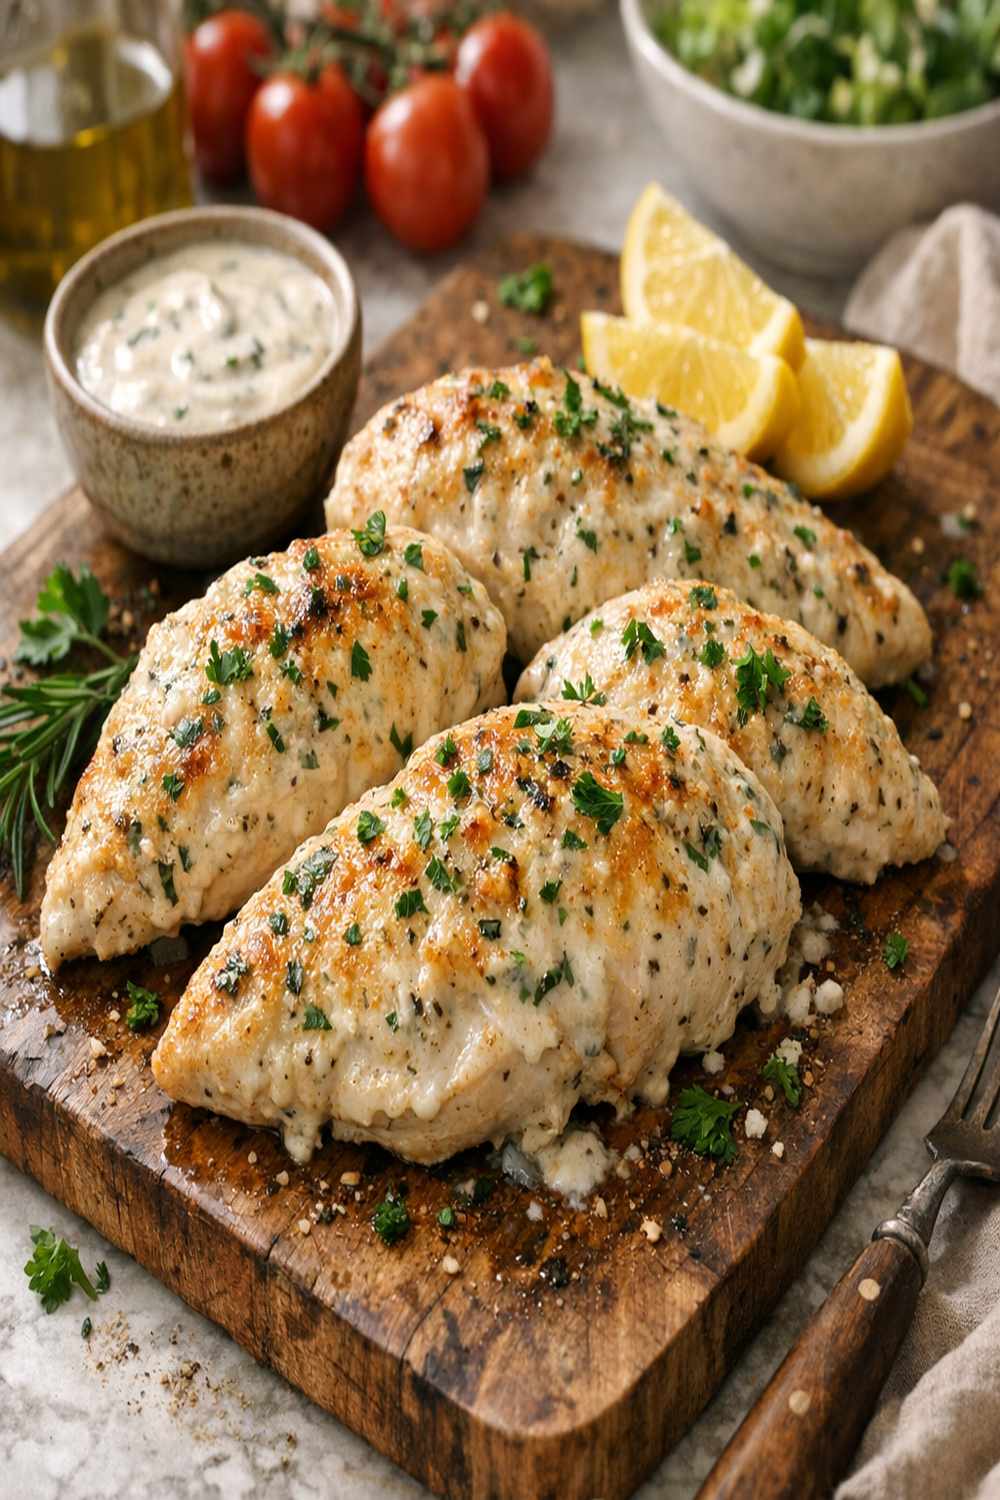
Step 8: Rest and Serve
- Transfer your finished chicken to a serving platter and let it rest for 5 minutes before serving. This rest period allows the juices to redistribute throughout the meat, ensuring that every bite stays succulent. During rest, residual heat continues cooking the meat slightly while the exterior sets into that perfect crispness.

Nutrition
Notes
- Pat Your Chicken Completely Dry - Moisture is the enemy of crispy skin. Use paper towels to blot the chicken thoroughly before seasoning, even if they seem dry already. I often pat, then let them air-dry uncovered in the refrigerator for 30 minutes before cooking for absolutely maximum crispness.
- Don't Skip the Initial 25-Minute Solo Bake - This timing is intentional. You're giving the skin a head start to begin rendering before the herb mixture is applied. The herbs can burn if the oven is too hot and the cooking time too long, but this phased approach prevents that.
- Use Fresh Garlic, Not Powder - The fresh garlic creates a paste consistency that adheres better than powdered garlic, and it develops better flavor complexity as it roasts. If you only have garlic powder, use one-third the amount and add a tablespoon of water to the herb mixture to create proper consistency.
- Invest in an Instant-Read Thermometer - This is my most important kitchen tool. It eliminates guesswork and prevents both undercooked and overcooked chicken. I recommend digital models with a quick-reading probe; they're inexpensive and invaluable.
- Make Your Own Ranch Blend - If you prefer avoiding packets, combine one teaspoon of dried parsley, half a teaspoon of dried dill, half a teaspoon of garlic powder, half a teaspoon of onion powder, one-quarter teaspoon of dried chives, and salt and pepper to taste. This substitutes perfectly.
- Save Your Pan Drippings - The mixture at the bottom of your baking sheet is liquid gold. Drizzle it over the finished chicken, use it to dress a salad, or incorporate it into salad dressings for incredible depth.