Ingredients
Method
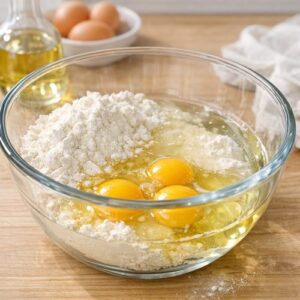
Step 1: Prepare and Bake Your Cake Layer
- Preheat your oven to 350°F (175°C). In a large mixing bowl, combine the vanilla cake mix, one cup of water, the ⅓ cup neutral oil, and your three eggs. Using an electric mixer on medium speed, blend these ingredients for about two minutes until the batter is smooth and relatively lump-free. You'll hear the mixer working, and the batter should flow like thick pancake batter—if it seems too thick, you can add an extra tablespoon of water. Pour the batter into a 13x9-inch baking pan that you've lightly coated with cooking spray or lined with parchment paper. Smooth the top with a spatula and slide it into your preheated oven. Bake for 28-32 minutes, until a toothpick inserted in the center comes out clean or with just a few moist crumbs clinging to it. The cake should spring back slightly when you press the surface gently. Remove from the oven and place on a wire cooling rack. This step is crucial: allow the cake to cool for 15-20 minutes at room temperature. We want it cool enough to handle comfortably but still slightly warm, which makes crumbling infinitely easier. A completely cold cake becomes dense and harder to break apart evenly.
Step 2: Crumble the Cake Into Texture Heaven
- Once your cake has cooled slightly, it's time for the satisfying part—crumbling! Break the entire cake into your largest mixing bowl using your hands. Don't worry about being delicate here. We want irregular pieces ranging from pea-sized to small walnut-sized chunks. This irregular texture actually creates better cake pops because smaller pieces distribute the frosting more evenly throughout, preventing dense pockets. Get your hands in there and work through the cake systematically, breaking it down as you go. This process typically takes 3-5 minutes. You should end up with what looks like coarse breadcrumbs mixed with some slightly larger fragments. There should be no cake clumps larger than a walnut, and ideally many pieces smaller than a pea. This is where your hands become your most valuable tool. The warmth of your palms actually helps break down the cake structure more efficiently than any spoon ever could.

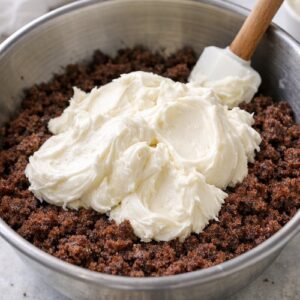
Step 3: Combine Cake and Frosting Into a Cohesive Mixture
- Scoop all 1½ containers of frosting directly into your bowl of crumbled cake. If your frosting is cold straight from the refrigerator, it can be difficult to mix. A pro tip from my years developing recipes: let the frosting sit at room temperature for 10 minutes before this step, or add two tablespoons of heavy cream or whole milk to improve workability. Using a sturdy wooden spoon or sturdy silicone spatula, fold and mix the frosting into the cake crumbs. This isn't a quick process—plan on 3-5 minutes of consistent mixing. You'll notice the mixture gradually becoming more cohesive as the frosting coats the cake pieces and the warmth helps meld everything together. The finished mixture should resemble dense cookie dough, holding together when you squeeze it but not so wet that it sticks excessively to your hands. As you're mixing, you might notice streaks of lighter frosting still visible—this is actually fine if you have good distribution throughout. Over-mixing can create a dense, gluey texture, so stop once everything is incorporated but before it becomes completely uniform in color.
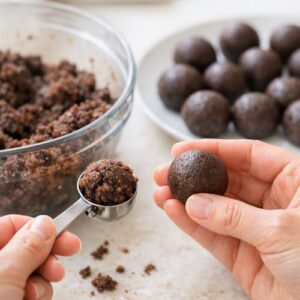
Step 4: Roll Your Cake Mixture Into Perfect Spheres
- Now comes the meditative part. Using a tablespoon measuring spoon (not a tablespoon from your silverware drawer, but an actual measuring spoon), scoop portions of your cake mixture. Drop each portion onto parchment paper, spacing them about two inches apart. Once you've scooped roughly half your mixture, start rolling them into balls. Working with damp or lightly oiled hands (not dripping wet, just barely dampened), gently roll each portion between your palms in a circular motion. Apply consistent gentle pressure for about 8-10 seconds per ball. The warmth of your hands and the friction will help the mixture consolidate into a smooth sphere. Your finished balls should be roughly the size of a large marble or small walnut—about ¾ inch to 1 inch in diameter. If your hands start sticking, briefly dampen them again. If the balls start cracking or falling apart, your cake-to-frosting ratio might be off—add another tablespoon or two of frosting to the remaining mixture. This batch should yield 36-48 balls, depending on how large you roll them. Arrange finished balls on parchment-lined baking sheets, spacing them about an inch apart. Here's a technique I learned from professional pastry chefs: once all your balls are rolled, chill them in the refrigerator for at least 30 minutes, or in the freezer for 15 minutes. This firms them up considerably, making the dipping process infinitely easier. Cold cake pops won't crack or crumble when they hit the warm almond bark coating.
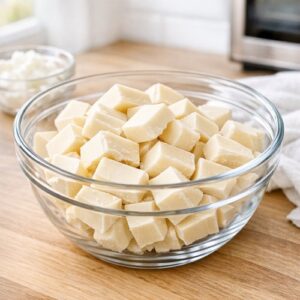
Step 5: Melt Your Almond Bark to Perfect Consistency
- Break your almond bark into roughly one-inch chunks (this helps it melt more evenly) and place about 18-20 ounces in a heat-safe bowl suitable for melting. You can use a double boiler setup, a microwave, or even a slow cooker on low heat. I prefer the microwave method for control: heat the almond bark in 30-second intervals at 50% power, stirring between each interval. Why 50% power instead of full power? Lower heat prevents the almond bark from seizing or becoming grainy. Total melting time is typically 2-3 minutes. The almond bark should be completely smooth and pourable but not hot—around 110-120°F (43-49°C) is ideal. If you don't have a thermometer, test with your finger; it should feel warm but not uncomfortably hot. This is the critical step where many home bakers encounter problems. If your almond bark seems too thick, add one teaspoon of coconut oil at a time, stirring well. Coconut oil thins the mixture without compromising flavor or the set of your coating. Avoid using vegetable oil or water, which can cause seizing.
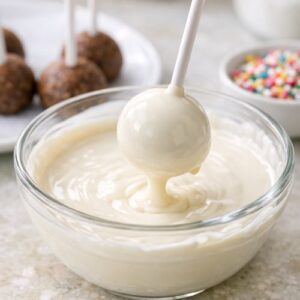
Step 6: Dip Your Chilled Cake Pops Into Almond Bark
- Remove your chilled cake pops from the refrigerator. Working with 3-4 at a time (keeping the rest cold), gently place a pop into your melted almond bark. Using a dipping fork, spoon, or even a slotted spoon, submerge the ball completely for just 1-2 seconds—any longer and the cake mixture can start absorbing the coating and become soggy. Lift the coated pop straight up, let excess almond bark drip back into the bowl for about 3 seconds, then gently transfer it to a parchment-lined baking sheet or cooling rack. The coating should form a smooth, thin layer over your cake ball. If you're concerned about your dipping technique (and many people are!), you can instead spoon almond bark over each ball, coating it manually—it takes longer but produces equally delicious results. Work steadily but without rushing. The entire dipping process for a full batch takes 10-15 minutes. If your almond bark begins to thicken as it cools, reheat it in 15-second microwave bursts at 50% power. Allow your freshly dipped pops to set at room temperature for at least 20 minutes, or place them in the refrigerator for 10-15 minutes for faster setting. If you'd like to add decorative elements (sprinkles, edible glitter, crushed candies), apply them while the almond bark coating is still wet, within the first 30 seconds after dipping.
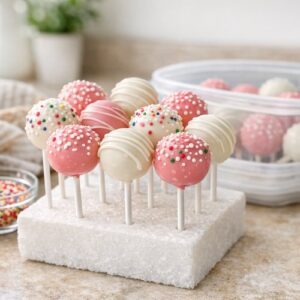
Step 7: Final Setting and Storage Preparation
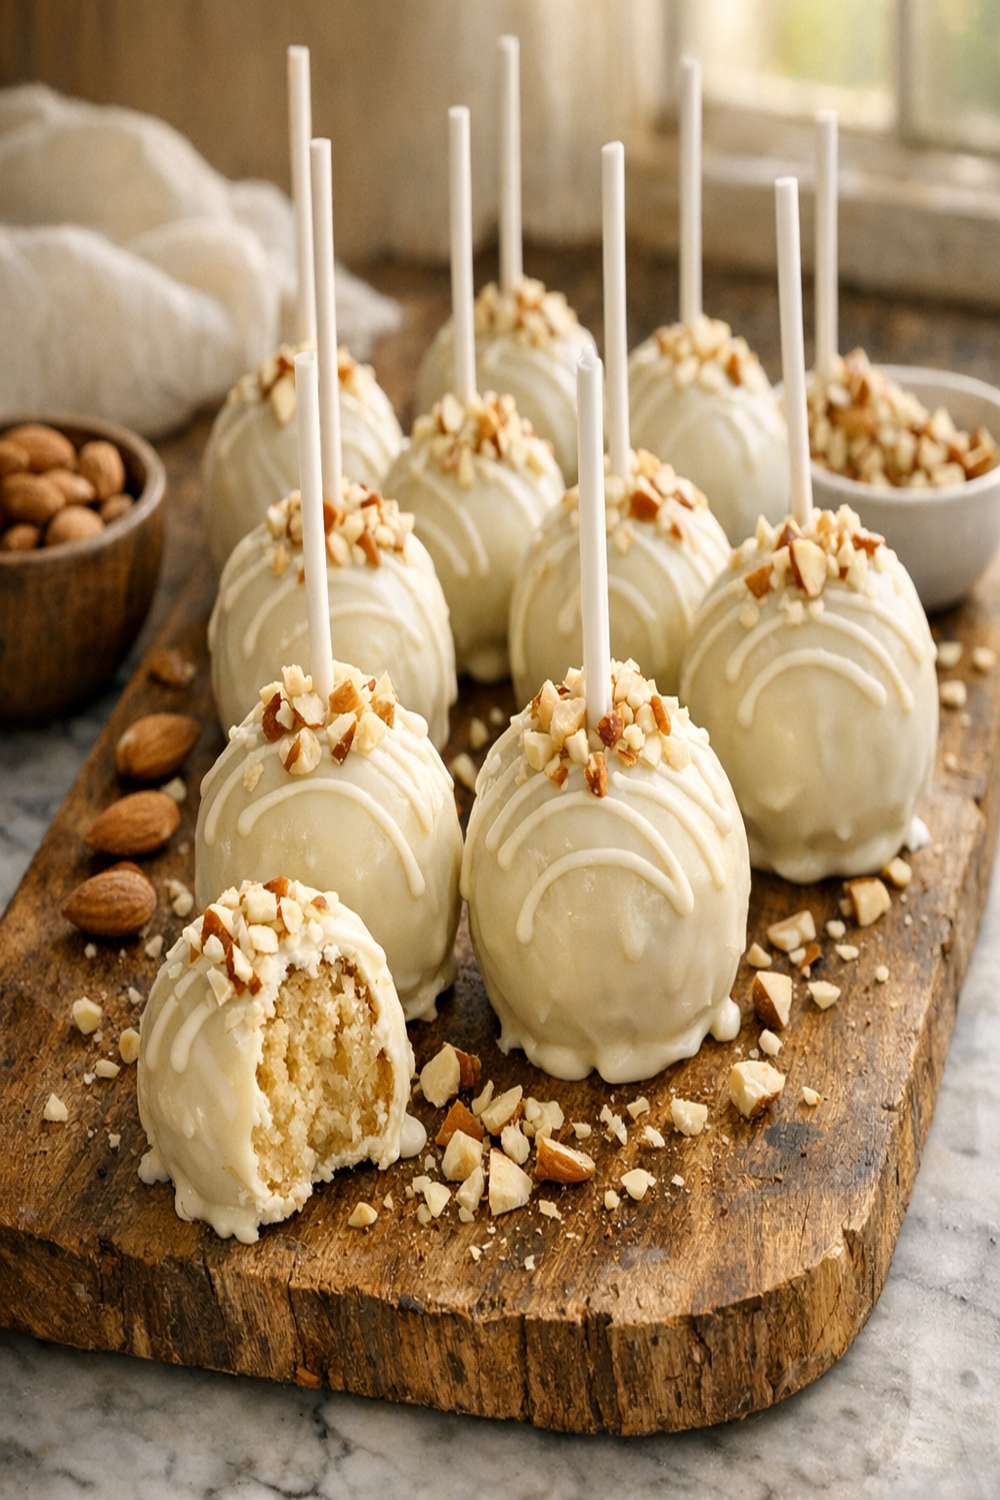
- Once all your cake pops are coated and the almond bark has fully set to the touch (it should feel firm but not rock hard), they're ready for storage. Admire your work—you've just created something that looks absolutely bakery-quality. The smooth, glossy finish and perfectly spherical shape are genuine accomplishments. Store your finished cake pops in an airtight container in the refrigerator for up to one week, or in the freezer for up to one month. We actually prefer serving them slightly chilled, straight from the refrigerator, as they have a wonderful texture that way.
Nutrition
Notes
- Temperature control is everything - This is the single most important factor in cake pop success. Cold cake pops plus warm (but not hot) almond bark equals a smooth coating. Room temperature cake pops will crack and absorb too much coating, creating a thick, uneven finish.
- Use the right frosting consistency - Room-temperature frosting mixes into cake more evenly than cold frosting. If your frosting is still cold or extra thick, a tablespoon or two of heavy cream or milk works wonders without changing the flavor profile.
- Don't skip the hand-rolling step - Electric mixers or food processors might seem efficient, but they overwork the mixture, creating dense, gluey cake pops. Hand-rolling, despite being more time-consuming, produces superior texture and structure.
- Invest in a good silicone dipping spoon - While you can use regular spoons or forks, a silicone dipping spoon with a slotted bottom (specifically designed for this task) makes the dipping process incredibly easier. They're inexpensive and worth the investment if you make these regularly.
- Level your baking pan - This matters more than you'd think. If your baking pan sits on an uneven oven rack, one side of the cake might bake faster, creating uneven crumble texture. Check your oven racks for levelness using a simple level tool.
- Keep almond bark moving - Almond bark that sits stationary begins to thicken quickly. Stir it occasionally as you work, and don't let it cool below 105°F or it becomes too thick for smooth dipping.