Ingredients
Method
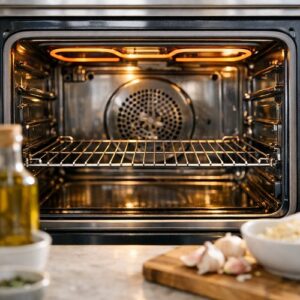
Step 1: Prepare Your Oven and Workspace
- First things first: preheat your oven to 400°F and position your rack in the upper-middle section of the oven. This positioning ensures the cheese gets direct heat for optimal browning while the bread toasts through. Line a large baking sheet with parchment paper—this prevents sticking and makes cleanup effortless. Give yourself plenty of counter space because we're about to create something glorious.
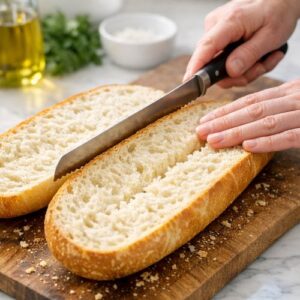
Step 2: Split and Position Your Bread
- Take your French loaf and, using a sharp serrated bread knife, carefully cut it lengthwise down the middle. Use a gentle sawing motion rather than pressing down hard—you want to create an even split without crushing the interior crumb structure. Place both halves, cut-side up, directly onto your prepared baking sheet. They should sit flat with the cut side facing you, ready to be crowned with our garlic-butter mixture.
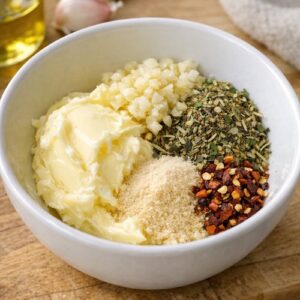
Step 3: Create the Garlic-Herb Butter Base
- In a small mixing bowl, combine your softened butter with the minced fresh garlic, garlic powder, Italian seasoning, and those optional red pepper flakes. Using a small fork or the back of a spoon, blend these ingredients until the garlic and seasonings are evenly distributed throughout the butter—you're creating a uniform, fragrant paste. The butter should be soft enough to spread easily but not melted. This mixture is the flavor foundation, so take a moment to smell it. If it smells amazing, you're on the right track.
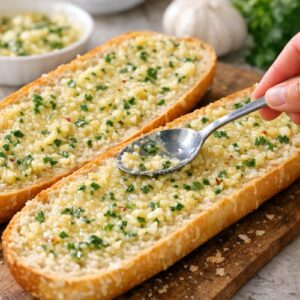
Step 4: Spread the Aromatic Mixture
- Now comes the satisfying part. Using a small spatula or the back of a spoon, spread the garlic-butter mixture evenly across both cut halves of your bread. Don't be shy—cover the entire surface generously, working from the center toward the edges. Make sure you get into the nooks and crannies. This even coverage ensures every bite contains that savory garlic-butter flavor. The bread should look generously coated, almost glistening with the butter-garlic blend.
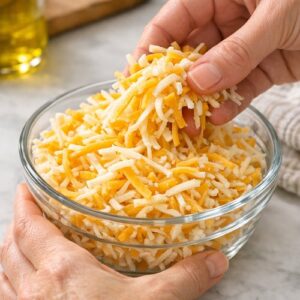
Step 5: Layer Your Cheese Combination
- Here's where the magic happens. In a small bowl, toss together your shredded Colby Jack and mozzarella cheeses so they're mixed evenly. Now, divide this cheese mixture between your two bread halves, creating a generous, even layer across each half. You want approximately ½ cup of mixed cheese per half. Don't skimp here—the cheese is what creates that golden, bubbly crust we're all dreaming about. The cheese should completely cover the butter-garlic layer underneath.
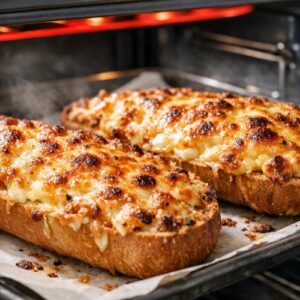
Step 6: Initial Bake for Melt and Toast
- Place your prepared bread into the preheated oven and bake for 12-15 minutes. You're looking for the cheese to become completely melted and bubbly, and the bread edges to turn golden-brown. The butter will sizzle underneath, and the kitchen will smell absolutely extraordinary. Set a timer so you don't forget—I've learned this the hard way. At around the 10-minute mark, peek in to check progress. You should see active bubbling in the cheese.

Step 7: Optional Broil for Extra Crispness (Recommended)
- If you want that extra-crispy, deeply golden top that's restaurant-style perfection, carefully transfer your baking sheet to the broiler for 1-2 minutes. Watch it closely—and I mean closely. Broilers work fast, and the difference between golden and burnt is about 30 seconds. You're looking for the cheese edges to deepen in color and create some charred spots. Remove immediately when the top reaches your desired golden-brown shade. This step is optional but absolutely worth the attention it requires.
Step 8: Rest and Garnish
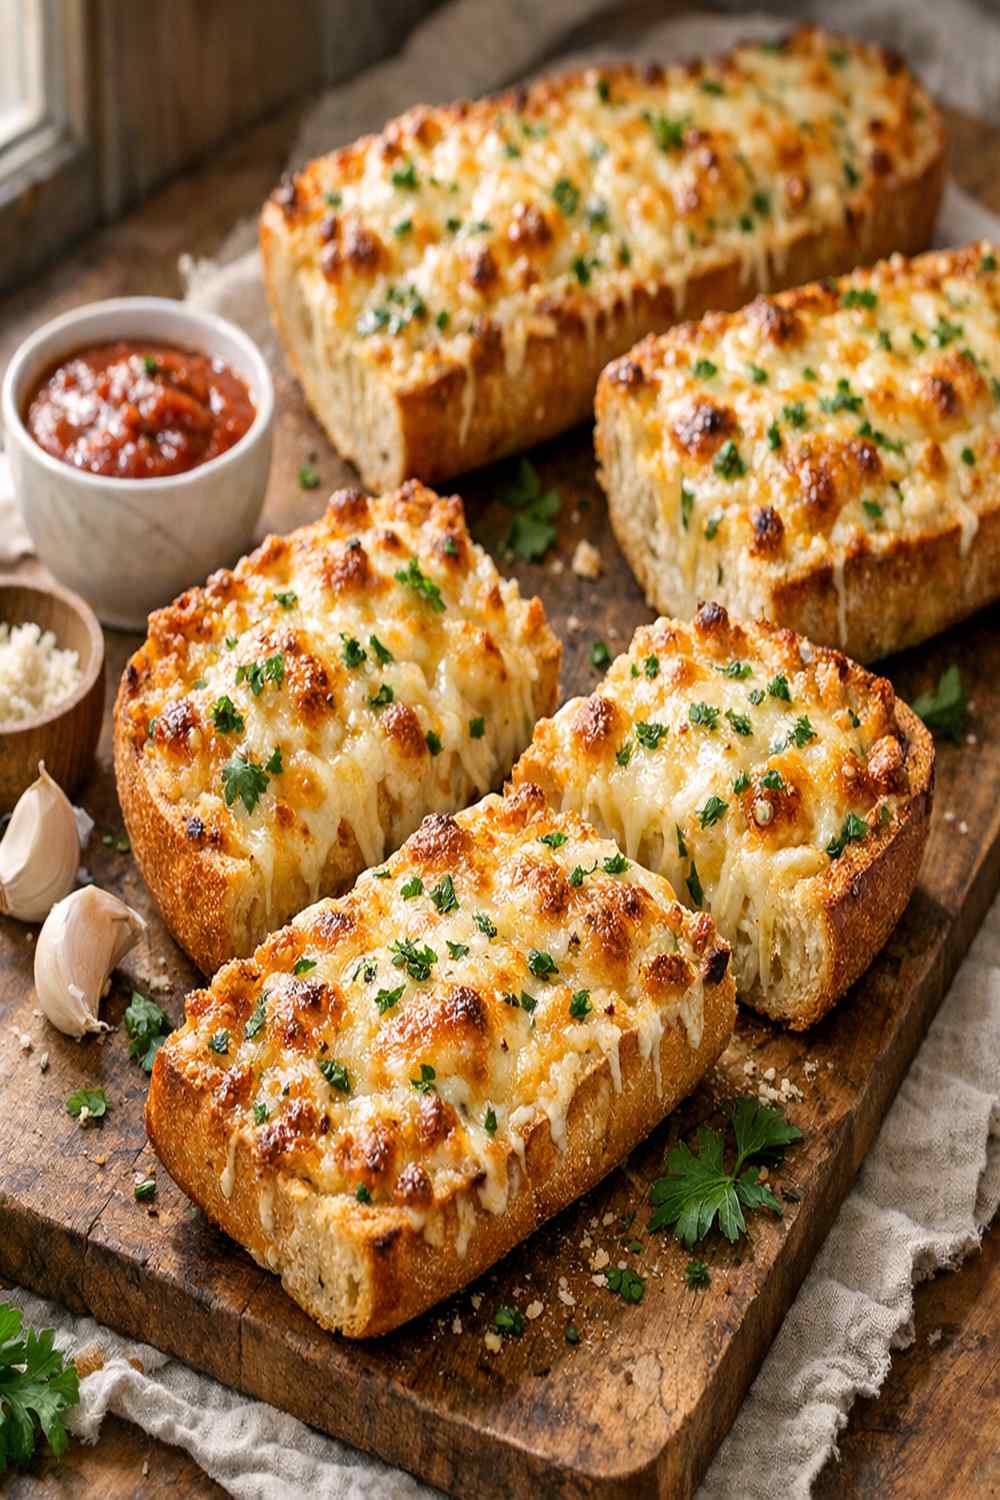
- Let your cheesy French bread rest on the baking sheet for 2-3 minutes before serving. This resting period allows the cheese to set slightly so it doesn't immediately pour off when you cut it. During this time, finely chop your fresh parsley. Just before serving, sprinkle the bright green parsley across the top for color, freshness, and a subtle herbal note that elevates the whole presentation. Slice with a serrated knife using a gentle sawing motion to avoid compressing the bread.

Nutrition
Notes
- Use softened, never melted butter - Melted butter seeps into the bread and creates a greasy result. Softened butter stays on the surface and creates that perfect coating. Leave it on the counter for 20 minutes before you start.
- Shred your own cheese from a block - Pre-shredded cheese contains anti-caking agents that interfere with melting. Freshly shredded cheese melts to a silky, uniform texture that's noticeably better.
- Don't skip the fresh garlic - The garlic powder alone creates a pleasant background note, but fresh minced garlic adds complexity and prevents any "dusty" flavor. The combination of both creates depth.
- Cut your bread lengthwise, not into rounds - This creates maximum surface area for the cheese to melt and brown, plus it's the traditional presentation that looks most appealing.
- Position your oven rack correctly - The upper-middle rack ensures the cheese tops brown before the bread bottom burns. If your rack is too low, your bottoms will char.
- Watch the broiler like a hawk - Set a phone timer for 1 minute and position yourself where you can see inside the oven. Broilers are temperamental, and 90 seconds can be the difference between golden and burnt.