Ingredients
Method
Step 1: Build Your Aromatic Marinade Base
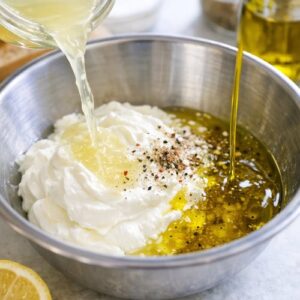
- In a medium mixing bowl, combine your Greek yogurt with the freshly squeezed lemon juice and olive oil. This is where the temperature of your yogurt matters—if it's straight from the refrigerator, it's thick and dense. We want to whisk these three ingredients together until the mixture becomes smooth and slightly thinner, creating a silky base that will coat the chicken evenly. The whisking action physically breaks down the yogurt's structure slightly while incorporating air, which helps the marinade penetrate more effectively. Next, add your minced garlic, lemon zest, and all the spices: paprika, cumin, cinnamon, red pepper flakes, salt, and black pepper. Whisk thoroughly for about two minutes, making sure the spices are fully incorporated and there are no clumps. The key here is that you want the red pepper flakes to be distributed evenly throughout—if they clump together, you'll bite into pockets of intense heat. The marinade should smell incredibly aromatic at this point, with distinct notes of lemon, warm spices, and garlic.
Step 2: Prepare Your Chicken with Precision
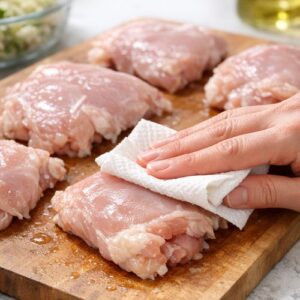
- Pat your chicken thighs dry with paper towels. This step, which many home cooks skip, is actually crucial for even browning later. Moisture on the surface will turn to steam, preventing the Maillard reaction (the chemical process that creates browning and deeper flavors). Trim away any obvious fat pockets or connective tissue, but leave some fat intact—this is what keeps thighs juicy during cooking. Cut the chicken into 1½-inch pieces. This size is deliberate: larger pieces would cook unevenly (outsides overdone before centers reach temperature), while smaller pieces would dry out. Err on the side of slightly larger pieces rather than smaller, as the yogurt marinade will protect the exterior from drying. If you have a piece that's significantly longer or thinner than others, you can fold it or cut it to match the general size.
Step 3: Marinate with Purpose and Patience
- Add your prepared chicken pieces to the marinade and fold gently but thoroughly, ensuring every piece is well-coated. Cover the bowl with plastic wrap and refrigerate for at least 8 hours, preferably overnight (up to 24 hours). This isn't just for convenience—this is where the magic happens. The yogurt's lactic acid begins to denature the chicken's proteins, tenderizing them while the spices and aromatics slowly penetrate deeper than they could in just a few minutes. While the chicken marinates, prepare your onions. Cut your large red onion into 1-inch chunks (slightly larger than your chicken pieces). You can marinate these alongside the chicken if you prefer, which will slightly soften them and infuse them with spice flavor, or keep them separate until assembly.

Step 4: Thread Your Skewers with Strategic Spacing
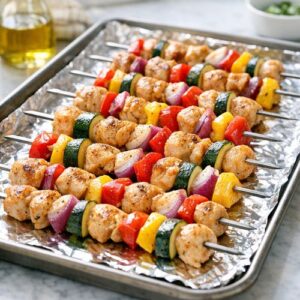
- When ready to cook, preheat your oven to 425°F (220°C). Line a large rimmed baking sheet with aluminum foil for easy cleanup and arrange your metal skewers on it. Now comes the assembly that makes the difference: alternate chicken and onion pieces, leaving about ¼-inch space between each item. This spacing is critical—it allows hot air to circulate around each piece, ensuring even browning and preventing the kabobs from steaming. Distribute your chicken and onion evenly across 6-8 skewers. You should have about 4-5 chunks of chicken per skewer, alternating with 3-4 chunks of onion. Don't overcrowd the skewers. When chicken pieces are crammed tightly together, the insides steam rather than roast, and you lose that beautiful exterior browning. Brush the marinade generously over all surfaces of the chicken and onions, reserving a little extra in the bowl. Don't discard that marinade—you'll use it for basting during cooking.
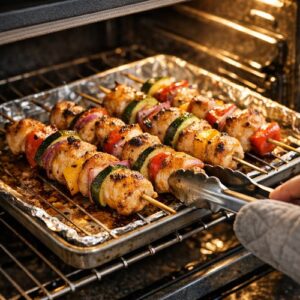
Step 5: The Roasting Process That Creates Restaurant-Quality Results
- Place your prepared skewers in the preheated 425°F oven on the middle rack. Set a timer for 7 minutes. At the 7-minute mark, open the oven and use a pastry brush to apply another light coating of reserved marinade to the exposed surfaces. This is the secret to keeping these kabobs from drying out—rather than relying on a single marinade coat, we're refreshing it partway through cooking, which keeps an protective layer on the exterior while the interior reaches temperature. Return to the oven for another 6-8 minutes, until the chicken is deeply golden brown and the onions have some charring. The total cooking time should be approximately 13-15 minutes. To check for doneness, cut into the largest piece of chicken—the interior should be opaque with no pink, and the juices should run clear. If you're using a meat thermometer, the internal temperature should reach 165°F (74°C).
Step 6: Rest and Serve with Purpose
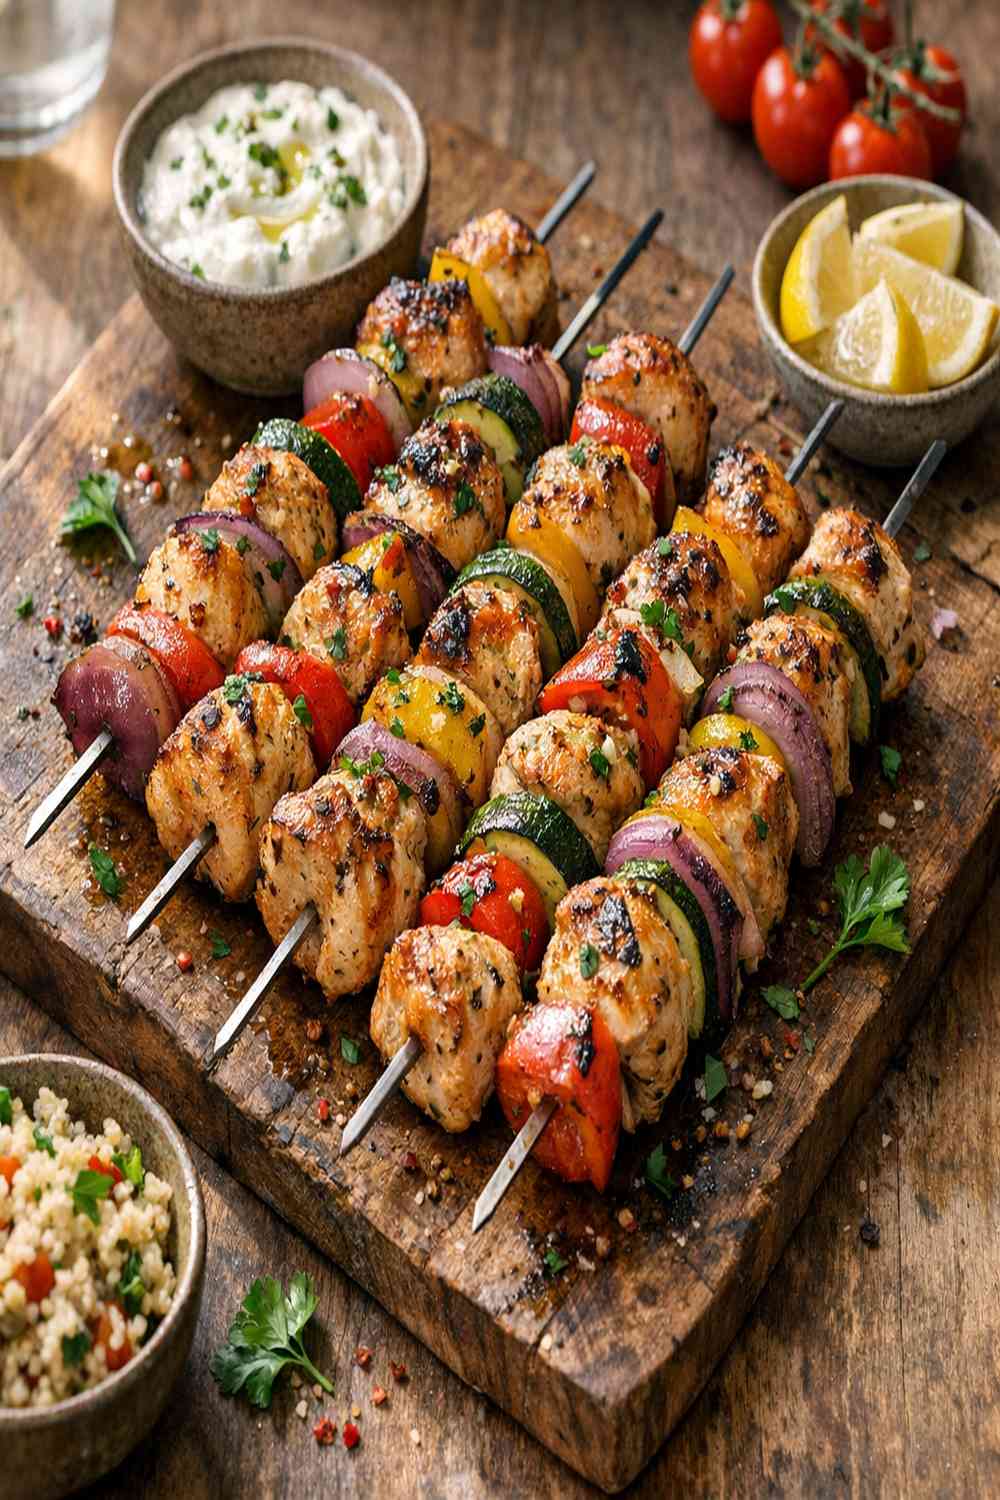
- Remove the baking sheet from the oven and let the kabobs rest for 3-4 minutes before serving. This brief rest allows the proteins to relax and reabsorb moisture, ensuring each bite is as juicy as possible. Transfer the kabobs to a serving platter, and they're ready to enjoy.