Ingredients
Method
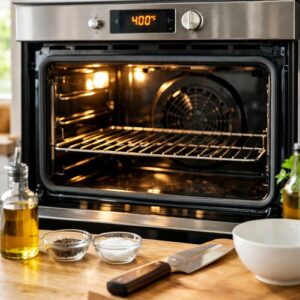
Step 1: Prepare Your Workspace and Preheat the Oven
- Preheat your oven to 400°F and position the rack to the center. This temperature is critical—it's hot enough to create browning and crisped edges while still cooking the chicken through without drying it out. While the oven heats, line a large rimmed baking sheet with parchment paper or lightly spray it with cooking oil spray. Parchment is your friend here because it prevents sticking and makes cleanup effortless. Set your sheet aside until you're ready to place nuggets on it.
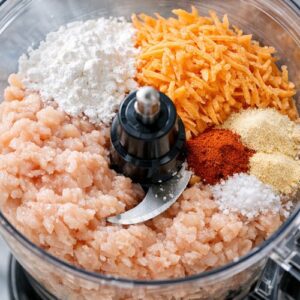
Step 2: Combine All Ingredients in a Food Processor
- Add the ground chicken, grated sweet potatoes, tapioca starch, onion powder, paprika, garlic powder, and kosher salt to your food processor bowl. The food processor is essential here—it does two critical things. First, it breaks down the sweet potato into ultra-fine pieces that distribute evenly throughout the mixture, ensuring consistent flavor in every bite. Second, it begins to activate the proteins in the chicken, which helps everything bind together naturally without requiring eggs or dairy. Pulse everything together on high speed for about 30-45 seconds, then let it run continuously for another 15-20 seconds. You're looking for the mixture to become homogeneous and slightly sticky. The key signal is when the mixture begins pulling away from the sides of the processor bowl—that's your cue that it's properly mixed. Don't overprocess; you want some texture, not a completely smooth paste.
Step 3: Portion and Shape Your Nuggets
- Using a tablespoon (a regular eating spoon works fine), scoop the mixture and place it on your prepared baking sheet, spacing each nugget about ½ inch apart. You should get 18-21 nuggets from this amount. Now here's where it gets hands-on: wet your fingers slightly under cold water, then gently shape each scoop into a nugget shape—roughly 1½ inches long and ½ inch thick, like a shortened chicken finger. The water on your fingers is absolutely crucial. This prevents the sticky mixture from adhering to your skin, making the shaping process actually enjoyable instead of frustrating. Work quickly but gently; you want nuggets that hold together but aren't overly compressed. If the mixture feels too wet to hold shape, refrigerate it for 15 minutes, then try again. Once shaped, give yourself a pat on the back—you're almost there.

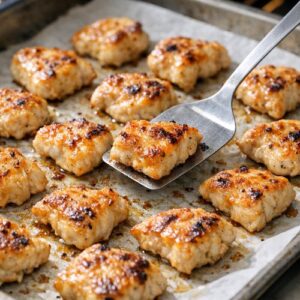
Step 4: Bake Until Golden and Cooked Through
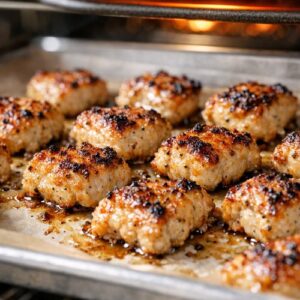
- Bake the nuggets at 400°F for 18-20 minutes, turning them halfway through with a thin spatula. This turning step is important because it ensures even browning and prevents one side from getting overly dark while the other stays pale. At the 9-minute mark, flip each nugget gently and return to the oven. The nuggets will gradually turn from pale to golden tan. You'll notice the edges start to crisp—that's the Maillard reaction happening. Check doneness by inserting an instant-read thermometer into the thickest nugget. You're looking for 165°F internal temperature, which indicates the chicken is completely safe to eat. If your nuggets haven't reached this temperature, return them to the oven for another 2-3 minutes and check again. This step isn't optional—ground chicken needs to reach this exact temperature for food safety.
Step 5: Optional Broil for Extra Crispiness
- If you want extra-crispy edges (and honestly, who doesn't?), switch your oven to the broil setting once the nuggets reach 165°F. Move the baking sheet to the highest oven rack, about 6 inches from the broiler element. Broil for 1-2 minutes only, watching carefully to prevent burning. You'll see the edges darken and become slightly crispy. This step adds incredible textural contrast—crispy outside, tender and juicy inside. Don't skip it if you have the time.
Step 6: Cool and Serve
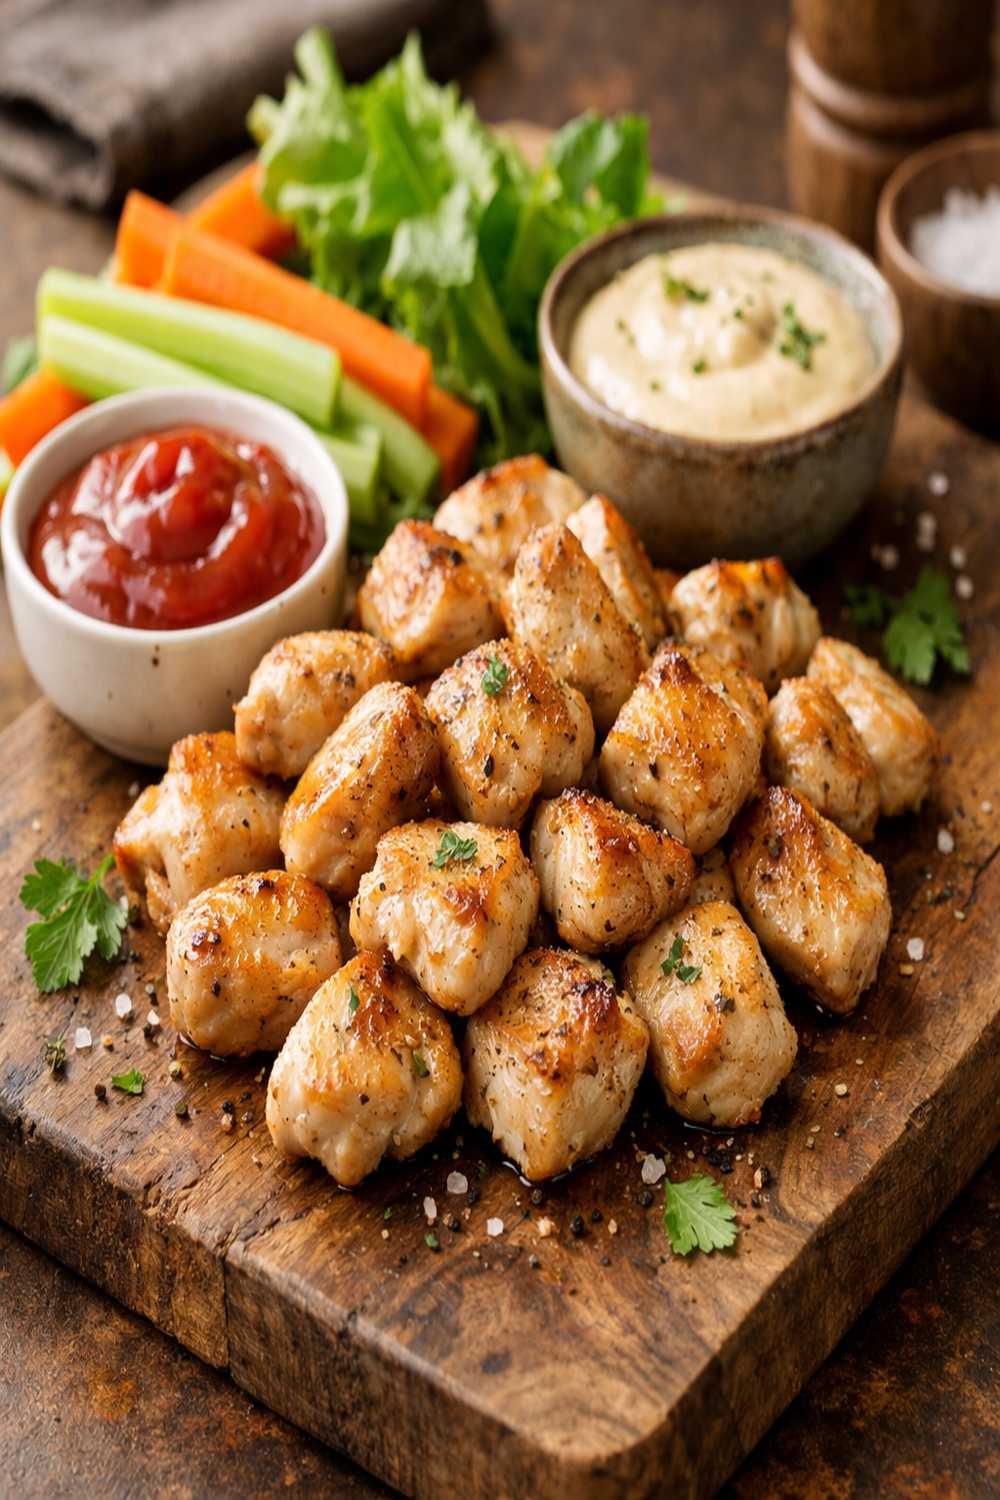
- Remove the nuggets from the oven and let them cool on the baking sheet for 3-5 minutes. This resting period allows the exterior to set slightly and makes them easier to handle. Serve warm with your choice of sauce. The beauty of these nuggets is that they're sturdy enough to hold up to dipping without falling apart, yet tender enough that they melt slightly on your tongue.

Nutrition
Notes
- Overmixing in the food processor - I know I said "mix thoroughly," but there's a limit. Overmixing develops gluten-like networks in the sweet potato and activates chicken proteins too much, creating nuggets that are dense and compact instead of light and tender. Stop as soon as the mixture holds together without visible separate ingredients. The entire process should take 45-60 seconds maximum.
- Skipping the wet fingers step - This isn't just a convenience tip; it's structural. Wet fingers prevent the mixture from sticking to you, which means less compression and tearing as you shape. Compressed nuggets cook unevenly and don't brown properly. Wet fingers = better texture. Full stop.
- Not turning the nuggets halfway through - I understand the urge to leave them alone, but this step is non-negotiable. Without turning, the bottom flattens and browns unevenly while the top stays pale. The 9-minute flip ensures even browning on all sides. Set a timer and flip without fail.
- Using pre-ground old spices - Garlic and onion powders lose potency after 6 months of opening. Your nuggets taste bland when the seasoning blend has lost its oomph. Check your spice cabinet date and refresh anything older than 6 months. Good spices are inexpensive insurance against disappointing results.