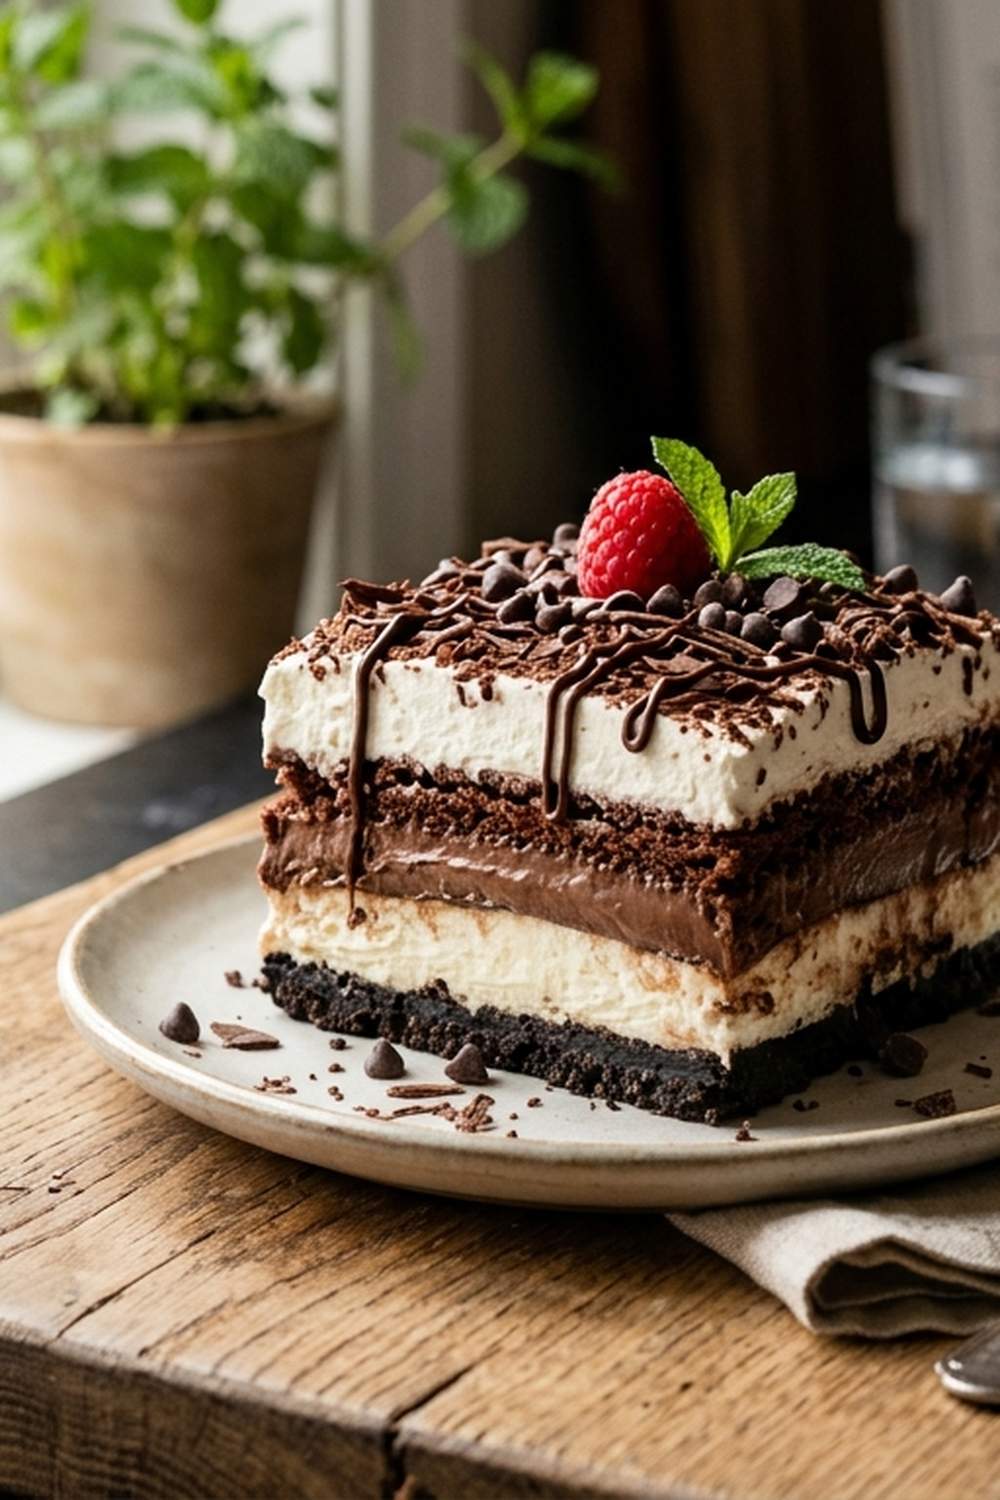

Ingredients
Method
Step 1: Create the Cookie Crust Foundation
- First, we're going to transform those sandwich cookies into fine crumbs. You have two routes here: the food processor method (my preference for pristine, even crumbs) or the zip-top bag method (my backup when I don't want to wash extra equipment). If using a food processor, place about 18 cookies at a time inside and pulse until you've got uniform crumbs that look like damp sand. Don't overthink it—you want fine pieces, not dust, and definitely not whole cookies still visible. If using the bag method, seal your cookies inside a gallon-sized zip-top bag and use a rolling pin to crush them thoroughly, working systematically from one end to the other. This method actually works beautifully and takes about four minutes. Important tip: leave the cream filling in place—those cookies with their centers intact are crucial for flavor and binding. Once you have your crumbs, pour them into a medium bowl and add your melted, slightly cooled butter. Stir this mixture until every single crumb is coated and moistened—you're looking for the texture of wet sand at the beach. This usually takes about 1-2 minutes of consistent stirring. The butter is your binder, so this step matters.
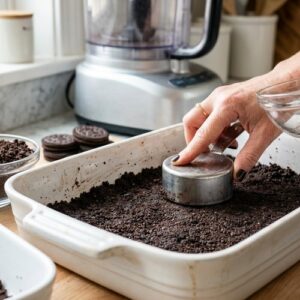
Step 2: Press the Crust into Your Pan
- Pour the buttered crumbs into your 9x13 baking dish and begin pressing firmly and evenly across the entire bottom. I use a spatula or the flat bottom of a measuring cup for this, working from the center outward. Press down with confidence—you want an even, compact layer about ¼-inch thick. This becomes your foundation, so take an extra 30 seconds here to make sure it's level. If you have time and a freezer available, pop this crust in for 15-20 minutes. This step is optional but makes spreading the next layer infinitely easier because the crust firms up and provides a stable surface. Pro tip from my kitchen: If your butter melted too warm, place the finished crust in the fridge for 10 minutes before moving to the next step. A firm crust means clean, confident layers.
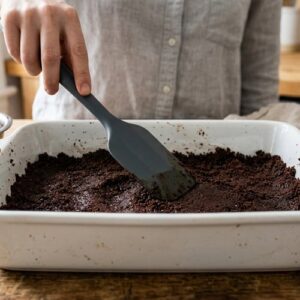
Step 3: Build the Silky Cream Cheese Layer
- Use the same medium bowl (no need to wash—those cookie crumbs add nothing harmful here) and add your softened cream cheese. With a hand mixer on medium speed, beat this cheese until it's light and fluffy, about 1-2 minutes. You'll notice it going from dense and thick to noticeably lighter in texture and paler in color. This aeration matters—it creates airiness in the layer. Now, add your 2 tablespoons of milk and ¼ cup sugar, mixing until completely smooth with no lumps visible. This should take another 30 seconds of mixing. Next comes the technique that elevates this: gently fold one of your 8-ounce containers of whipped topping into the cream cheese mixture. Use a spatula and fold (don't stir—folding preserves airiness), making about 8-10 folds until the white streaks disappear and you have one cohesive, fluffy mixture. This now has the texture of mousse. Spread this mixture evenly over your cookie crust, using an offset spatula or the back of a spoon to create an even layer about ½-inch thick. Return the pan to the refrigerator for about 10 minutes. This brief chill sets the cream cheese layer just enough that the next layer won't sink into it, maintaining those beautiful distinctions between flavors.
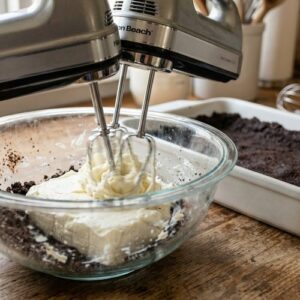
Step 4: Create the Chocolate Pudding Layer
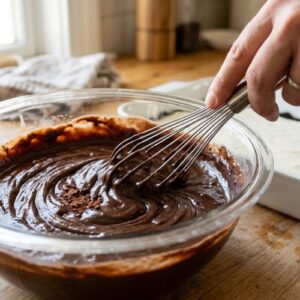
- While that cream cheese sets, pour your 2¾ cups of cold milk into a large bowl and add both boxes of instant chocolate pudding mix (unprepared, straight from the box). Using your hand mixer on medium speed, beat this for about 1-2 minutes until you see it beginning to thicken noticeably. You're looking for it to reach soft-serve ice cream consistency—it should coat the back of a spoon but still be pourable. Don't overbeat or you'll create a grainy texture. This is the one step where timing matters because pudding can seize up quickly once beaten. Remove your pan from the fridge and spread the chocolate pudding mixture evenly over the cream cheese layer. Use that same spatula to create an even surface, about ½-inch thick. The pudding is forgiving—don't stress about perfection here because the final layer will cover any imperfections. Return to the refrigerator for another 10 minutes. Why instant pudding? I'm using the instant version specifically because it requires no cooking and achieves proper consistency in minutes. The cornstarch and thickening agents are already engineered into the mix, creating a stable layer that won't weep or separate.
Step 5: Crown with Whipped Topping and Chocolate Chips
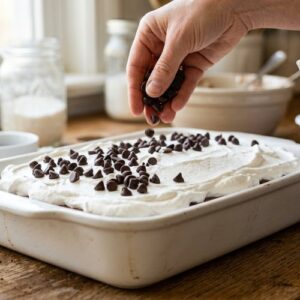
- Once your pudding layer has set for those 10 minutes, remove the pan from the fridge. Take your second 8-ounce container of whipped topping (the one you haven't used) and gently spread it evenly over the chocolate pudding. You want a generous ½-inch layer here because this is your crowning beauty. Use an offset spatula or the back of a spoon, working gently so you don't disturb the pudding layer below. Here's the pro move: dip your spatula in warm water and wipe it dry between strokes—this creates smooth, even coverage instead of a streaky appearance. Finish by scattering your ¾ cup of miniature chocolate chips across the entire surface. These do two things: they look stunning and they add one more textural element when you bite into the finished dessert. A light sprinkle is elegant; a heavy scatter is also delicious—you choose the vibe you want.
Step 6: Final Chill and Serve
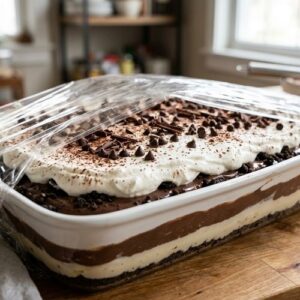
- Cover your pan loosely with plastic wrap (you don't want it touching the whipped topping) and refrigerate for at least 4 hours before serving. I genuinely recommend overnight chilling because the flavors deepen and marry together beautifully. The structure also becomes more stable, which means cleaner cuts and a more impressive presentation. If you're in a time crunch, 4 hours is your minimum, but I promise 24 hours is better. When ready to serve, use a sharp knife dipped in warm water (wipe between cuts for cleanliness) and cut into 12-16 pieces. The warm knife prevents the whipped topping from bunching up and the chocolate chips from dragging. Serve cold, directly from the pan or on individual plates with a light dusting of cocoa powder if you want to fancy it up.
Nutrition
Notes
- Not letting your cream cheese soften enough - This is the number one issue I see. Cold, straight-from-the-fridge cream cheese won't blend smoothly and creates lumpy texture in your layer. Set it on the counter 30 minutes before using. Non-negotiable. If you forget, microwave it in 10-second bursts, stirring between, until it's soft but not melted.
- Overbeating the pudding - I know it's tempting to keep mixing until it's completely firm, but instant pudding seizes up and becomes grainy if overworked. Beat for 1-2 minutes, you'll see it thicken noticeably, and then stop. Trust the process. Grainy pudding layer ruins the texture of the whole experience.
- Skipping the chill time between layers - I recommend 10 minutes between each layer, and I mean it. This isn't arbitrary. The brief chill sets each layer just enough that the next layer won't sink into it. You'll see the difference between layers staying distinct versus everything blurring together if you skip this.
- Not pressing the crust firmly enough - A loose, crumbly crust will fall apart when you serve. Press with confidence, use the bottom of a measuring cup if needed, and don't be gentle. You want a solid, compact base that holds everything above it. A loose crust is your recipe's weak point.