Ingredients
Equipment
Method
Step 1: Rinse the Quinoa
- Begin by rinsing the quinoa under cold water. I like using a fine-mesh strainer for this. Give it a good rinse for about 30 seconds. This process helps remove quinoa’s natural coating, called saponin, which can impart a bitter taste if not washed away.
Step 2: Prepare the Rice Cooker
- Now, here comes the easy part! Add the rinsed quinoa to your rice cooker. Pour in the chilled water or vegetable broth—both work nicely here. I often opt for broth to enhance the flavor.
Step 3: Add Garlic and Coconut Oil
- Stir in the minced garlic and coconut oil. The coconut oil adds a touch of richness, while the garlic gives a savory punch.
Step 4: Season
- Sprinkle the sea salt over the mixture. It’s essential to season effectively; this is where flavor begins!
Step 5: Cook
- Close the lid of your rice cooker and initiate the cooking cycle. Most rice cookers have a button just for this! If yours doesn’t, use the white rice setting.
Step 6: Let It Rest
- When the cooking cycle is complete, let the quinoa sit for about five minutes with the lid closed. This step allows for any extra moisture to be absorbed and gives the grains a chance to fluff up beautifully.
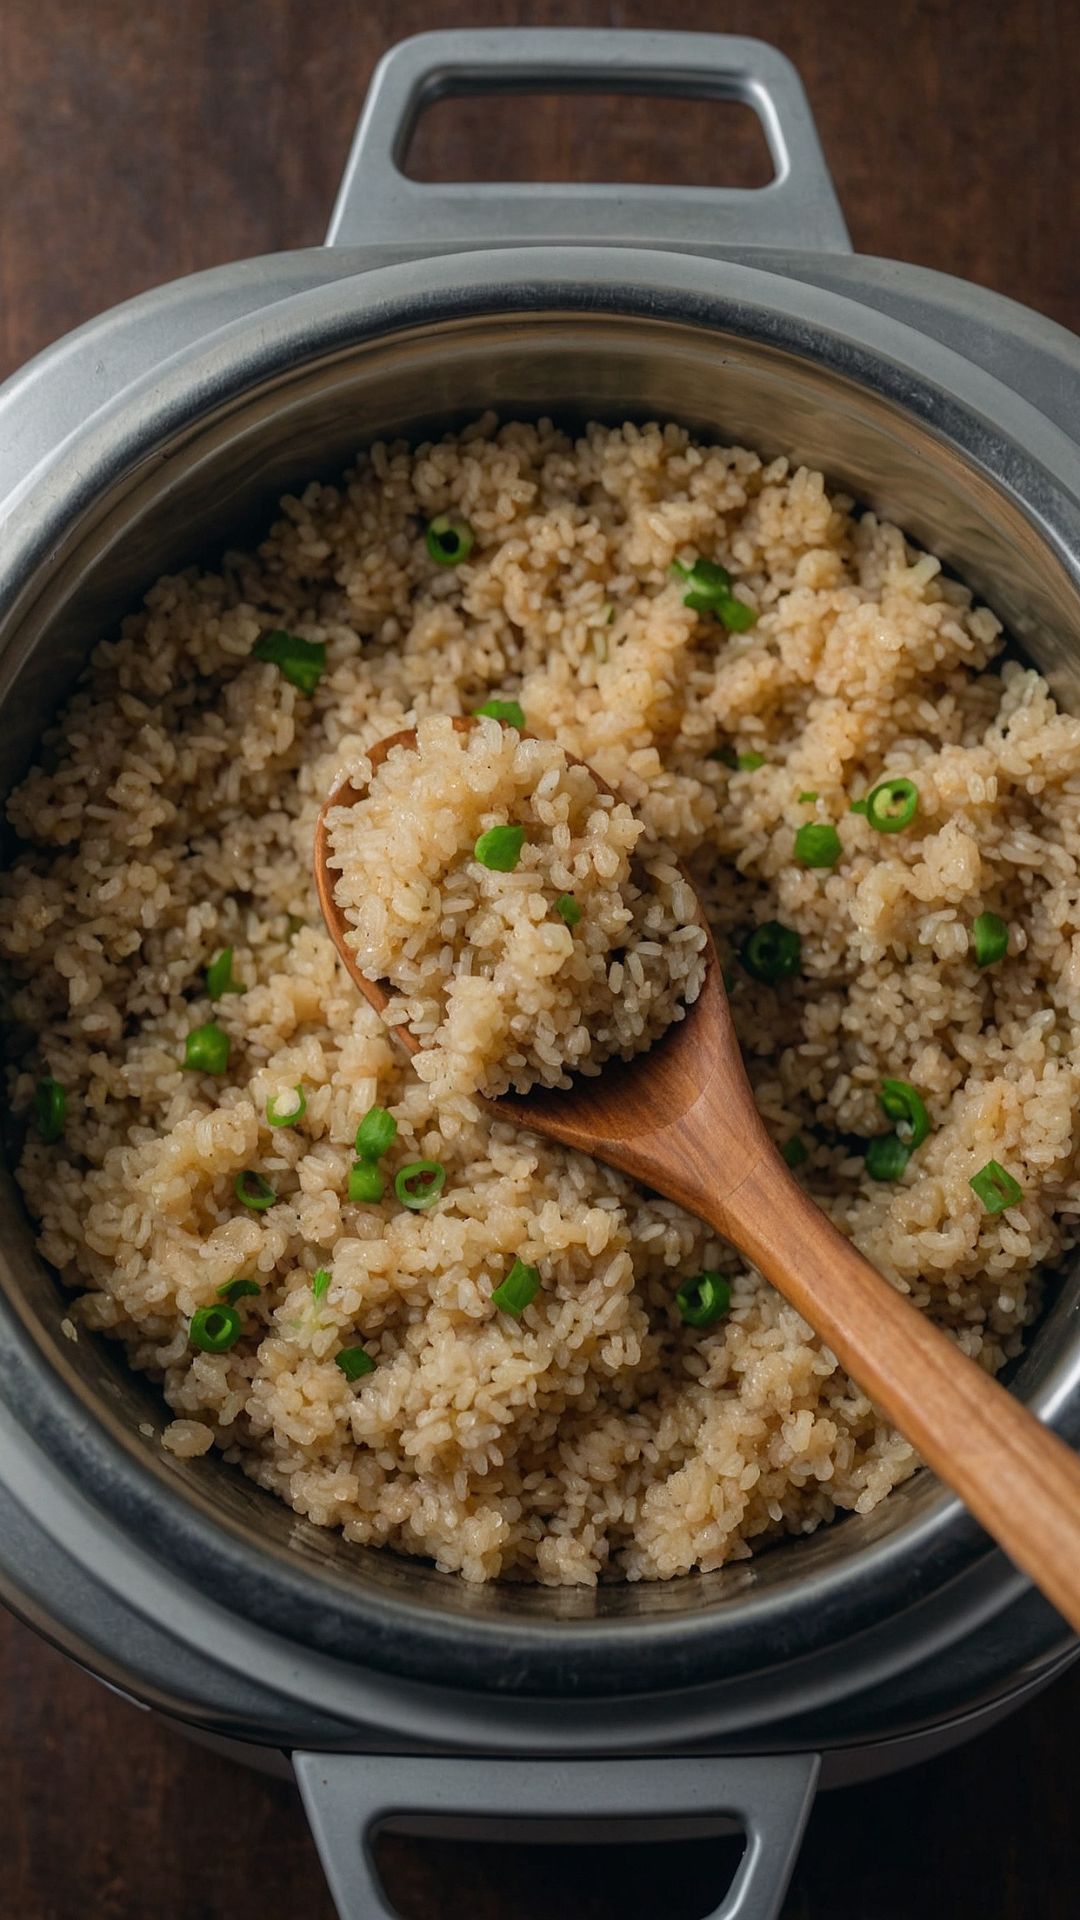
Step 7: Fluff and Serve
- Finally, use a fork to fluff the quinoa gently. You’ll see how it transforms! Stir in the freshly chopped cilantro for added flavor and color. Ready to serve!
Nutrition
Notes
- Use Broth for More Flavor: Instead of just water, use vegetable or chicken broth for a deeper flavor.
- Add Cooking Time: Got a stubborn rice cooker? Don’t hesitate to add a few extra minutes if the quinoa seems undercooked.
- Flavor Boost: Spice things up! Consider adding herbs or spices prior to cooking for added flavors.
- Batch Cooking: Cook a larger batch and store leftovers for quick meals later in the week.
- Cool for Salads: If you plan to use the quinoa in a salad, spread it out on a baking sheet after cooking to cool it quickly.