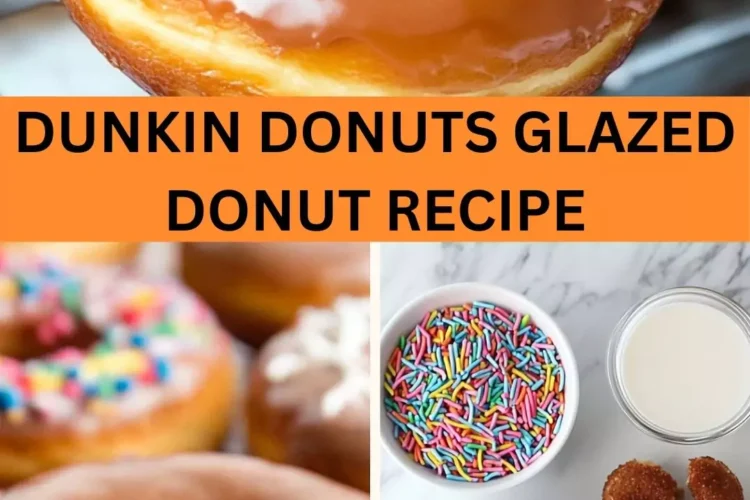
When it comes to enjoying a Dunkin’ Donuts glazed donut, the possibilities for pairing are endless. Imagine waking up on a Saturday morning with a soft, fluffy donut in one hand and a warm cup of coffee in the other. The classic combo of coffee and donuts is a nostalgic treat, right? But don’t stop there!
You can elevate your donut experience by adding a side of fresh fruit—think ripe strawberries or blueberries. The tartness will beautifully contrast the sweetness of the donut. If you’re feeling adventurous, why not try a scoop of vanilla ice cream?

The creamy texture against the sugary glaze creates a delightful harmony. And let’s not forget about milk. A cold glass of whole milk or even chocolate milk can complement the sweetness perfectly.
Now that we’ve established the perfect companions for our colorful, sugary treats, let’s dive deep into the story of the Dunkin’ Donuts glazed donut.
You will also like the following Dessert recipes!
- Best Dunkin Donuts Oreo Donut Recipe
- How to make Dunkin Hazelnut Swirl
- Easy Dunkin Donuts Butternut Munchkin Recipe
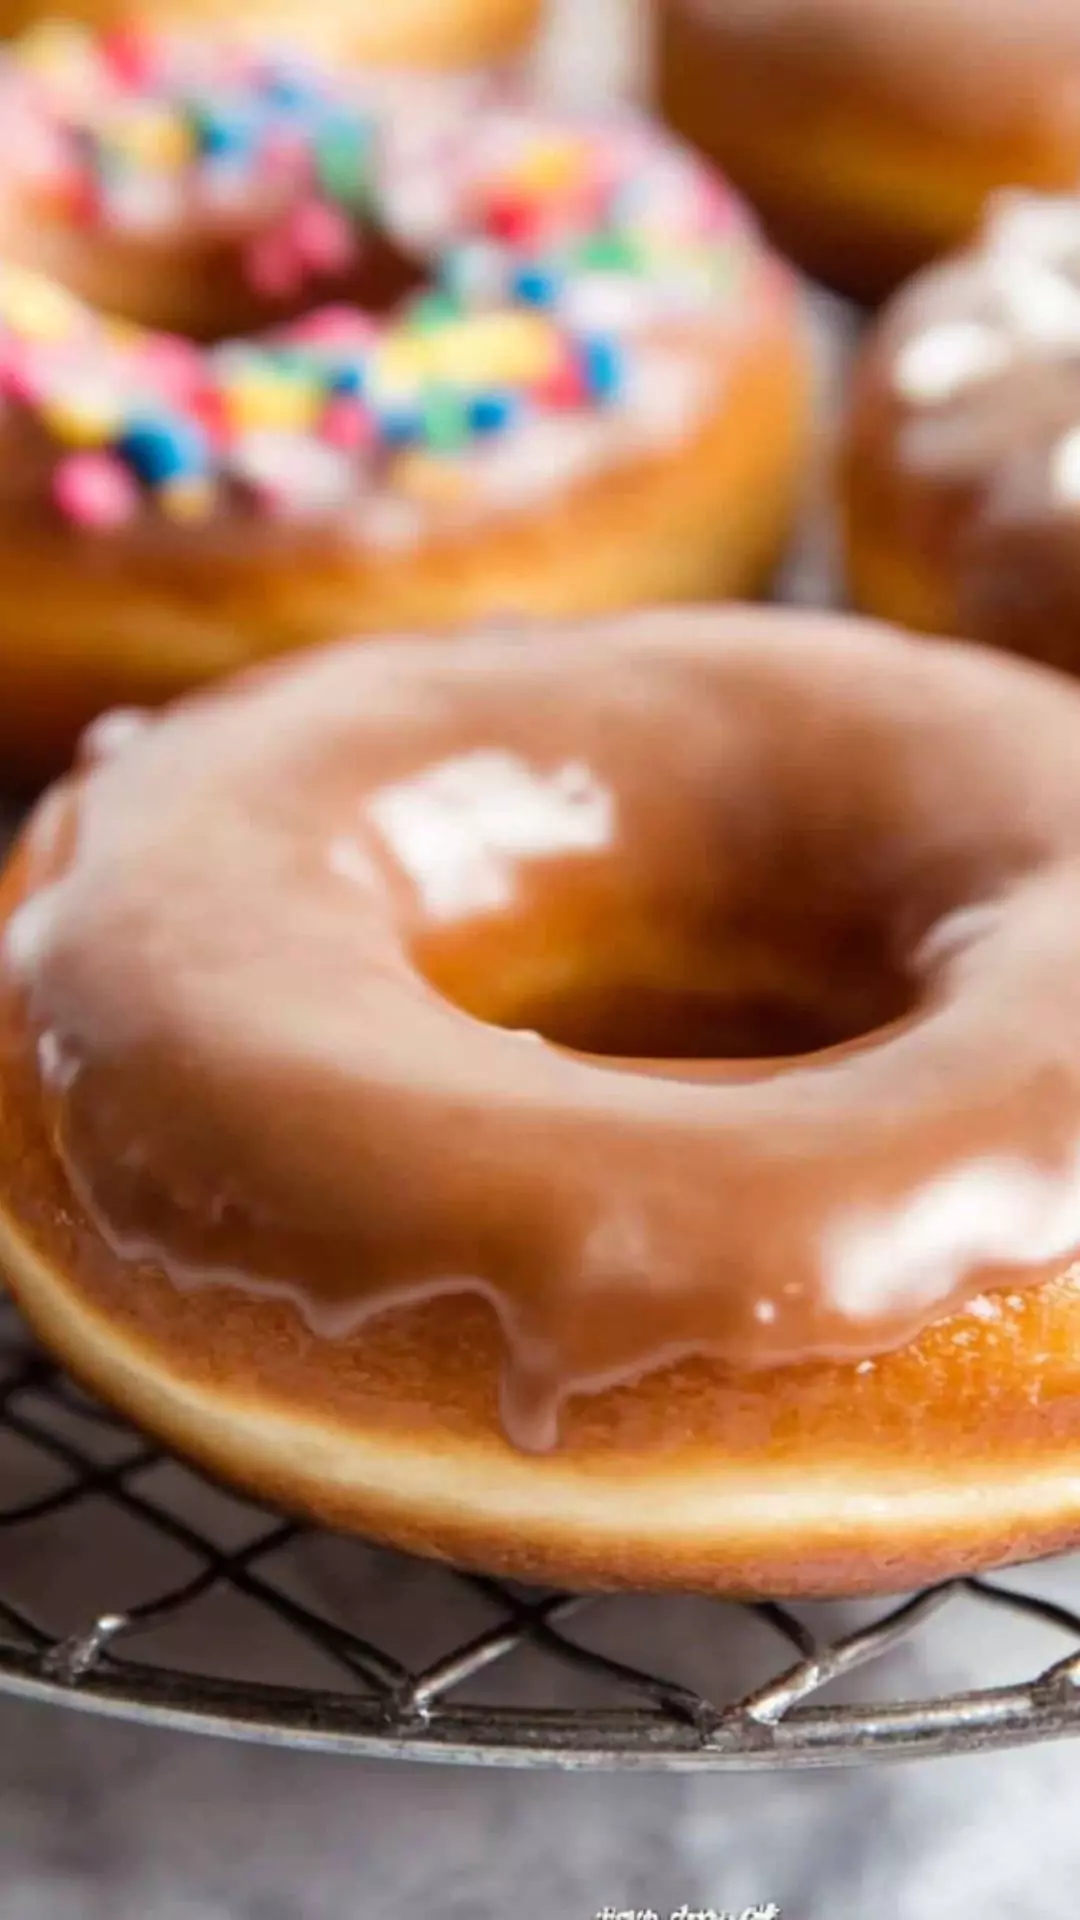
The Irresistible Dunkin’ Donuts Glazed Donut
Ah, the Dunkin’ Donuts glazed donut! Just thinking about it can make anyone’s mouth water. Fluffy, sweet, and decadently glazed, this donut holds a special place in the hearts of many, including mine. The soft dough gives way to a sweet, sticky glaze that feels like a warm hug on a chilly morning.
But there’s more to these sugary delights than meets the eye. The recipe I will share with you today embodies everything that makes this treat so irresistible. This isn’t a supermarket imitation—we’re diving into the homemade version.
Making it from scratch not only gives you the joy of baking but allows you to control the ingredients.
In my culinary journey, I have often reached for this recipe. It fit seamlessly into special occasions, and even quiet Sunday mornings when I just needed a sweet treat.
Every time I whip up a batch, it becomes a celebration. The flavors remind me of cozy cafes and lively mornings, filled with warm coffee and laughter with friends.
What makes this recipe stand out is the simplicity of the ingredients. The magic lies in combining ordinary items to create something extraordinary. Let’s explore those ingredients, shall we?
Ingredients List
Donut Dough:
- 1 cup lukewarm water
- 2 tbsp active dry yeast
- 1/2 cup granulated sugar
- 1/2 tsp sea salt
- 1 stick unsalted butter, melted
- 1/2 cup warm whole milk
- 2 large eggs
- 2 egg yolks
- 1 tsp ground cinnamon
- 4 1/2 cups all-purpose flour
Glaze:
- 3 cups sifted powdered sugar
- 1/4 tsp vanilla sugar
- 1/4 tsp almond extract
- 1/2 cup filtered water

How to Make Dunkin’ Donuts Glazed Donuts
Step 1: Activate the Yeast
In a medium bowl, combine the lukewarm water and the active dry yeast. Let it sit for about five minutes until it’s frothy. That bubbling magic is your yeast waking up and getting ready to work.
Step 2: Mix Sugar, Butter, and Milk
In a large mixing bowl, whisk together the granulated sugar and melted butter. Pour in the warm milk and mix until combined. Add a sprinkle of sea salt—it really enhances the flavor.
Step 3: Incorporate the Yeast Mixture
Once that yeast has frothed up, it’s time to add it to the buttery mixture. Stir it in, and prepare to be whisked away by the lovely smell that starts to waft through your kitchen.
Step 4: Add Eggs and Cinnamon
In go the two large eggs and two egg yolks. Beat them in until fully incorporated. Next, sprinkle in the ground cinnamon. This will add warmth and depth to your donuts.
Step 5: Introduce the Flour
Now it’s time for the star of the show—add the flour a little at a time. Trust me, you’ll want to avoid the flour cloud that this action might create; mix slowly. The dough will start to come together and form a sticky but cohesive mixture.
Step 6: Knead the Dough
Flour your work surface lightly. Take the dough out and knead it for about five to eight minutes. This process develops gluten, giving your donuts that coveted fluffy texture. Don’t be afraid to get your hands a little doughy!
Step 7: Let it Rise
Place the kneaded dough in a greased bowl. Cover it with a clean kitchen towel and let it sit in a warm place for about an hour or until it doubles in size. This might feel like the longest hour of your life, but it’s worth it!
Step 8: Shape the Donuts
Once the dough has risen, roll it out on a floured surface to about 1/2-inch thickness. Use a donut cutter to cut out your shapes! Don’t forget to cut out the little centers for that classic donut look.
Step 9: Allow for Second Rise
Place the cut donuts onto parchment paper. Cover them and let them rise again for about 30 minutes. As you’re waiting, think of all the frosting and sprinkles you might add later!
Step 10: Fry the Donuts
Heat oil in a deep fryer or a heavy pot to 350°F (175°C). Fry the donuts in batches, about 1-2 minutes per side until they are golden brown. Remember, safety first! Use a slotted spoon to remove them from the hot oil and let them drain on paper towels.
Step 11: Prepare the Glaze
While the donuts cool, mix the powdered sugar, vanilla sugar, almond extract, and water in a separate bowl. Stir until smooth. The glaze should be thick yet pourable—it should cling to the donuts like your favorite sweater on a cold day.
Step 12: Glaze the Donuts
Once the donuts are just cool enough to handle, dip the tops into the glaze. Let them sit for a moment to let go of the excess glaze; that way, you don’t get a sugar waterfall on your countertop!
Recipe Notes
Lukewarm Water: Ensure the water is warm but not hot—it activates the yeast without killing it.
Active Dry Yeast: Always check the expiration date. Fresh yeast is vital for a good rise.
Granulated Sugar: Regular sugar works best, giving the donuts a sweet kick and a nice browning.
Unsalted Butter: It allows you to control the salt content in the recipe.
Warm Whole Milk: This ingredient helps in keeping the donuts soft and moist.
Ground Cinnamon: Feel free to use more or less based on your spice preference.
All-Purpose Flour: This forms the base of the dough. Avoid using bread flour; it can make the donuts too dense.

Recipe Variations
Chocolate Glazed Variation: Add cocoa powder to your glaze for a rich chocolate finish.
Maple Glaze: Swap out vanilla and almond extract for maple syrup; your donuts will have a deliciously warm flavor.
Sprinkle Heaven: Top the glazed donuts with colorful sprinkles for a cheerful finish.
Filled Donuts: After frying, fill with jam or cream for a delicious surprise.
Vegan Option: Substitute eggs with flax eggs and use plant-based milk and butter for a vegan-friendly alternative.
Gluten-Free: Use gluten-free flour for a totally different texture that still satisfies.
Dunkin Donuts Glazed Donut Recipe
Ingredients
Equipment
Method
- In a medium bowl, combine the lukewarm water and the active dry yeast. Let it sit for about five minutes until it’s frothy. That bubbling magic is your yeast waking up and getting ready to work.
- In a large mixing bowl, whisk together the granulated sugar and melted butter. Pour in the warm milk and mix until combined. Add a sprinkle of sea salt—it really enhances the flavor.
- Once that yeast has frothed up, it’s time to add it to the buttery mixture. Stir it in, and prepare to be whisked away by the lovely smell that starts to waft through your kitchen.
- In go the two large eggs and two egg yolks. Beat them in until fully incorporated. Next, sprinkle in the ground cinnamon. This will add warmth and depth to your donuts.
- Now it’s time for the star of the show—add the flour a little at a time. Trust me, you’ll want to avoid the flour cloud that this action might create; mix slowly. The dough will start to come together and form a sticky but cohesive mixture.
- Flour your work surface lightly. Take the dough out and knead it for about five to eight minutes. This process develops gluten, giving your donuts that coveted fluffy texture. Don’t be afraid to get your hands a little doughy!
- Place the kneaded dough in a greased bowl. Cover it with a clean kitchen towel and let it sit in a warm place for about an hour or until it doubles in size. This might feel like the longest hour of your life, but it’s worth it!
- Once the dough has risen, roll it out on a floured surface to about 1/2-inch thickness. Use a donut cutter to cut out your shapes! Don’t forget to cut out the little centers for that classic donut look.
- Place the cut donuts onto parchment paper. Cover them and let them rise again for about 30 minutes. As you’re waiting, think of all the frosting and sprinkles you might add later!
- Heat oil in a deep fryer or a heavy pot to 350°F (175°C). Fry the donuts in batches, about 1-2 minutes per side until they are golden brown. Remember, safety first! Use a slotted spoon to remove them from the hot oil and let them drain on paper towels.
- While the donuts cool, mix the powdered sugar, vanilla sugar, almond extract, and water in a separate bowl. Stir until smooth. The glaze should be thick yet pourable—it should cling to the donuts like your favorite sweater on a cold day.
- Once the donuts are just cool enough to handle, dip the tops into the glaze. Let them sit for a moment to let go of the excess glaze; that way, you don’t get a sugar waterfall on your countertop!
Nutrition
Notes
- Lukewarm Water: Ensure the water is warm but not hot—it activates the yeast without killing it.
- Active Dry Yeast: Always check the expiration date. Fresh yeast is vital for a good rise.
- Granulated Sugar: Regular sugar works best, giving the donuts a sweet kick and a nice browning.
- Unsalted Butter: It allows you to control the salt content in the recipe.
- Warm Whole Milk: This ingredient helps in keeping the donuts soft and moist.
- Ground Cinnamon: Feel free to use more or less based on your spice preference.
- All-Purpose Flour: This forms the base of the dough. Avoid using bread flour; it can make the donuts too dense.
Tried this recipe?
Let us know how it was!Frequently Asked Questions
How long do these donuts last?
Homemade glazed donuts are best eaten fresh. However, you can store them in an airtight container at room temperature for up to two days. For longer storage, freeze them without glaze. Thaw and glaze later.
Can I make these donuts ahead of time?
Absolutely! You can prepare the dough, shape the donuts, and then refrigerate them overnight. When you’re ready to fry, just let them come to room temperature first.
Is it possible to bake these donuts instead of frying?
Yes, but it feels like a different treat altogether. Bake at 375°F (190°C) on a lined baking sheet until golden brown (about 10-12 minutes). They won’t have the same traditional flavor but can be a healthier option.
Can these glazed donuts be made without almond extract?
Sure! If you’re not a fan of almond flavor, you can simply skip it or replace it with more vanilla extract.
What if I don’t have a donut cutter?
No worry! You can use two round cutters of different sizes (a large and a small) to create the donut shape.
How can I make the glaze thicker or thinner?
To thicken your glaze, add more sifted powdered sugar until achieving the desired consistency. If it’s too thick, add a splash of water, little by little, until it reaches your liking.
Conclusion
So there you have it! The rich, sweet journey of crafting Dunkin’ Donuts glazed donuts in your own kitchen. I hope you’re inspired to dust off your apron and give this delightful recipe a go. There’s something truly fulfilling about creating a classic treat from scratch.
Every bite of a donut you make, glazed to perfection, holds the potential for smiles, laughter, and sweet nostalgia. The combinations of flavors and textures bring about a culinary experience that goes beyond just taste. It’s a memory maker, a conversation starter, and a perfect reason to gather friends and family.
As I wrap up, I can already envision the joy of sharing these donuts. With a cup of coffee in hand, surrounded by loved ones, it truly becomes more than just a treat. It’s the simple moments spent together that matter the most.
So, let’s roll up those sleeves, have some fun, and get frying. And hey, don’t forget to indulge with a side of that delicious coffee! Happy baking!
