
Making buttermilk at home is not just a practical skill; it’s also a fun adventure in the kitchen that elevates your cooking game.
I remember the first time I attempted to make buttermilk. I stood in my kitchen, a cup of whole milk and a splash of vinegar in hand, feeling a mix of excitement and skepticism. Fast forward to today, and I can’t help but share my journey and tips with you.
Grab your apron because we’re diving in!

What is Buttermilk?
Buttermilk, traditionally the liquid left after churning butter, has evolved into a staple in many kitchens.
Today, it commonly refers to cultured buttermilk, a tangy dairy product used in baking, cooking, and even as a base for salad dressings. Its slight acidity enhances flavors, tenderizes meat, and adds moisture to baked goods.
You will also like the following Drinks recipes!
Why You’ll Love This Recipe
Making buttermilk at home is easy, fast, and cost-effective. You won’t need to make a special trip to the store, and it gives you the freedom to whip up your favorite recipes on a whim.
Plus, knowing how to make buttermilk will open doors to a world of delicious culinary possibilities.
The Ingredients
Let’s keep it simple. Here’s what you’ll need to get started:
- A pinch of sea salt
- 1 tablespoon distilled white vinegar (or fresh lemon juice)
- 1/2 teaspoon honey
- 1 cup whole milk
That’s it! You’re just moments away from homemade buttermilk.

Step-by-Step Instructions
Let’s break it down into straightforward steps.
Step 1: Gather Your Ingredients
Pull out your measuring cups and spoons. Grab the milk, vinegar (or lemon juice), honey, and sea salt. Having everything ready makes the process smooth.
Step 2: Combine the Ingredients
In a medium bowl, measure out 1 cup of whole milk. Next, stir in 1 tablespoon of distilled white vinegar or lemon juice. If you’re using honey, add 1/2 teaspoon at this point.
Step 3: Stir and Let It Sit
Give your mixture a good stir. You want the vinegar or lemon juice to blend nicely with the milk. Now, set it aside and let it sit for about 5-10 minutes.
During this time, you’ll notice that the milk starts to thicken and curdle slightly. It’s a beautiful transformation!
Step 4: Check the Consistency
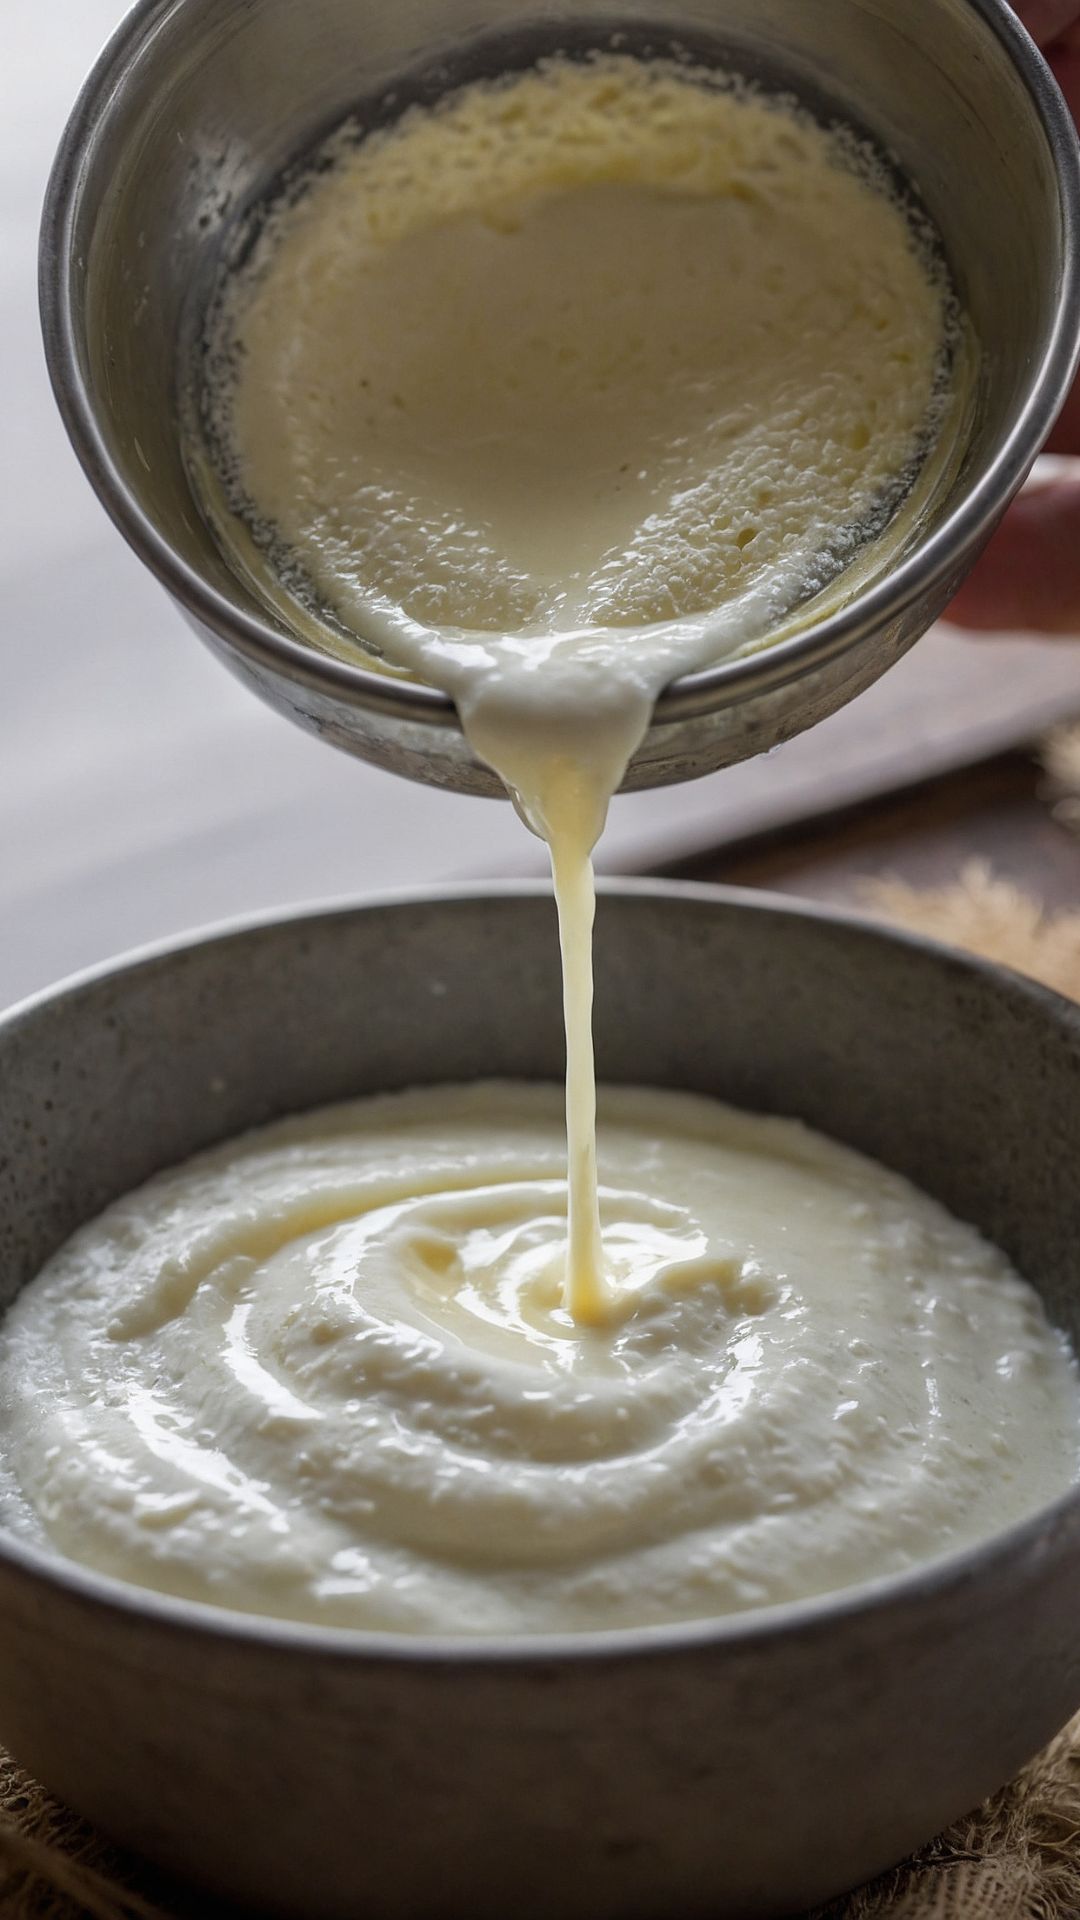
After the waiting period, give your buttermilk another stir. It should appear slightly thickened and have a creamy texture. If you see any lumps, don’t worry! That’s perfectly normal.
Step 5: Use or Store
Now your buttermilk is ready to use! Whether you’re making pancakes, muffins, or fried chicken, this homemade version will work beautifully. If you’re not using it right away, pour it into a clean container and store it in the fridge for up to 2 weeks.
Tips & Tricks
Here are some handy tips to ensure your homemade buttermilk turns out perfectly every time:
- Use Whole Milk: The richer the milk, the creamier the buttermilk will be.
- Wait for the Magic: Allowing the mixture to sit is crucial for developing that signature buttermilk tang.
- Taste Test: If you’re unsure about the acidity level, taste a tiny bit. If it’s not tangy enough, let it sit longer.
- Customize: Feel free to adjust the sweetness. If you like your buttermilk sweeter, add a little more honey.
- Dairy-Free Option: You can create a non-dairy version using almond milk or soy milk. Just make sure to add an acid like vinegar or lemon juice.
Nutrition Information
How To Make Buttermilk At Home Nutrition Facts

Can I Store Homemade Buttermilk?
Absolutely! You can easily store your homemade buttermilk. Place it in a clean, airtight container and keep it in the refrigerator.
It will last for about 2 weeks. Just give it a good shake before using it again, as it may separate over time.

What Can I Serve with Homemade Buttermilk?
The culinary possibilities are endless! Here are some ideas for what you can serve with or use your homemade buttermilk:
- Pancakes: Fluffy, tender pancakes that everyone will love.
- Biscuits: Soft and flaky biscuits that pair perfectly with butter and jam.
- Fried Chicken: Use it as a marinade for juicy, tender fried chicken.
- Salad Dressings: Mix it with herbs and spices for a creamy dressing.
- Baking: Add it to muffins, cakes, or scones for moisture and flavor.
Variations
Get creative with these variations on homemade buttermilk:
- Buttermilk with Herbs: Blend in fresh herbs like dill or chives for a savory twist that’s perfect for dressings or dips.
- Spiced Buttermilk: Add a pinch of cumin or paprika to your buttermilk for an exotic flavor that works well in marinades or sauces.
- Sweet Buttermilk: Mix in a little vanilla extract for a sweeter flavor, great for use in desserts like pancakes.
- Coconut Buttermilk: Use coconut milk instead of regular milk for a tropical twist. It’s amazing in cakes and squares.
- Coffee-Infused Buttermilk: Pour a bit of brewed coffee into the milk before adding vinegar. Try it in chocolate cakes for a rich depth of flavor.
How To Make Buttermilk At Home Recipe
Ingredients
Equipment
Method
- Pull out your measuring cups and spoons. Grab the milk, vinegar (or lemon juice), honey, and sea salt. Having everything ready makes the process smooth.
- In a medium bowl, measure out 1 cup of whole milk. Next, stir in 1 tablespoon of distilled white vinegar or lemon juice. If you’re using honey, add 1/2 teaspoon at this point.
- Give your mixture a good stir. You want the vinegar or lemon juice to blend nicely with the milk. Now, set it aside and let it sit for about 5-10 minutes.
- During this time, you’ll notice that the milk starts to thicken and curdle slightly. It’s a beautiful transformation!
- After the waiting period, give your buttermilk another stir. It should appear slightly thickened and have a creamy texture. If you see any lumps, don’t worry! That’s perfectly normal.
- Now your buttermilk is ready to use! Whether you’re making pancakes, muffins, or fried chicken, this homemade version will work beautifully. If you’re not using it right away, pour it into a clean container and store it in the fridge for up to 2 weeks.
Nutrition
Notes
- Use Whole Milk: The richer the milk, the creamier the buttermilk will be.
- Wait for the Magic: Allowing the mixture to sit is crucial for developing that signature buttermilk tang.
- Taste Test: If you’re unsure about the acidity level, taste a tiny bit. If it’s not tangy enough, let it sit longer.
- Customize: Feel free to adjust the sweetness. If you like your buttermilk sweeter, add a little more honey.
- Dairy-Free Option: You can create a non-dairy version using almond milk or soy milk. Just make sure to add an acid like vinegar or lemon juice.
Tried this recipe?
Let us know how it was!Frequently Asked Questions
1. Can I use low-fat or skim milk to make buttermilk?
Yes, you can use low-fat or skim milk to make buttermilk, but the texture and creaminess may differ. Whole milk provides a richer flavor.
2. Can buttermilk be used in place of yogurt?
Yes, buttermilk can substitute yogurt in recipes, but keep in mind that the flavor will change slightly. You may also need to adjust the liquid content in your recipe.
3. Is homemade buttermilk safe to consume?
Absolutely, as long as you keep it refrigerated and use it within 2 weeks. Always sniff or taste to ensure it’s still good before use.
4. Can I freeze buttermilk?
Yes, you can freeze buttermilk. Pour it into an ice cube tray for convenient portions. Once frozen, transfer the cubes to a freezer bag.
5. How can I tell if buttermilk has gone bad?
If buttermilk has an off smell, a sour taste that’s beyond normal, or shows signs of spoilage (like mold), it’s best to discard it.
Conclusion
Making buttermilk at home simplifies your cooking routine and opens doors to delightful recipes. It combines simplicity with rich flavor, enhancing everything it touches.
Whether you’re jazzing up pancakes or creating a rich dressing, the ability to whip up buttermilk on your own is a game-changer.
So, roll up your sleeves, dive into the kitchen, and let your homemade buttermilk shine. You won’t regret it!
