
Turkey taco lunch bowls are a festive meal on their own, but they can truly shine when paired with the right accompaniments. Consider adding a light green salad dressed with lemon vinaigrette to balance the flavors.
If you’re feeling adventurous, a side of roasted sweet potatoes adds a delightful sweetness that contrasts beautifully with the spicy notes of the tacos. You might also enjoy serving your bowls with a refreshing mango salsa on the side. This combination will help bring a touch of brightness to your meal. Don’t forget a chilled drink; a lime-infused water can keep things zesty and vibrant!

Let me share why my Turkey Taco Lunch Bowls have become a staple in my meal prep routine. As a busy food enthusiast, I know the struggle of wanting delicious, satisfying meals without spending hours in the kitchen.
These lunch bowls hit the sweet spot—they’re quick to prepare, packed with flavor, and scream comfort food. The best part? You can make them ahead of time, popping them in the fridge for easy lunches throughout the week.
I’ve experimented with countless ingredients in these bowls, finding the perfect blend to achieve a balance of protein, fresh veggies, and that classic taco taste. Ground turkey is not just leaner than beef, but it’s also versatile and absorbs flavors well—like a sponge for spices!
Combined with my homemade taco seasoning, it elevates ordinary turkey into something extraordinary. Let’s dive into the details, so you can make these bowls your own and impress friends and family.
You will also like the following Lunch and Dinner recipes!
- Make Ahead One Pot Black Bean Fajita Pasta
- Copycat Balsamic Steak Berry And Arugula Salad
- Honey Garlic Chicken Marinade Sauce
Ingredients List
DIY Taco Seasoning
- 1 tablespoon chili spice blend
- ¼ teaspoon cayenne (adjust for heat preference)
- 1 ½ teaspoons ground cumin seeds
- ½–¾ teaspoon garlic granules
- ¾ teaspoon smoked or sweet paprika
- 1 teaspoon crushed oregano leaves
- ½ teaspoon onion powder
- Salt, as needed
Taco Bowl Base
- 1 small golden onion, finely chopped
- 1 lb lean ground turkey (93% lean)
- 2 cups shredded crisp romaine
- ¼–½ cup tangy sour cream
- 2 cups steamed white or brown rice
- 1 tablespoon thick tomato concentrate
- ¼–½ cup water (adjust for consistency)
- 1 can black beans, rinsed and drained
- 1–2 cups golden corn kernels (canned, fresh, or thawed frozen)
- 1 tablespoon fresh lime juice
Flavorful Toppings (Pick Your Favorites)
- Shredded sharp cheddar
- Thin rounds of jalapeño
- Creamy guacamole or avocado slices
- Fresh coriander leaves or chopped green onions
- Slivers of red onion (fresh, sautéed, or pickled)
- Lime wedges
- Chopped fresh tomatoes or chunky salsa
- Taco sauce or spicy Mexican hot sauce
- Crunchy tortilla strips or corn chips

How to Make Turkey Taco Lunch Bowls
Step 1: Prepare the Taco Seasoning
Start by mixing all the taco seasoning ingredients in a bowl. This is the heart of your bowl, infusing your turkey with bold flavor. I love the smell that fills my kitchen as the spices blend together; it’s like an instant fiesta!
Step 2: Cook the Turkey
In a skillet over medium heat, sauté the chopped onion until golden. Add the ground turkey and cook until browned, breaking it up with a spatula. This is my favorite part. Watching the turkey sizzle and change color feels oddly satisfying. Once it’s browned, stir in the taco seasoning, tomato concentrate, and the water. Cook for another 5-7 minutes. You’re looking for a thick, juicy mixture.
Step 3: Prepare the Rice
While the turkey cooks, steam your rice according to package instructions. It adds a nice base to soak up all the delicious flavors. I usually opt for brown rice for added nutrients, but white rice works just as well. Fluff it up and set aside.
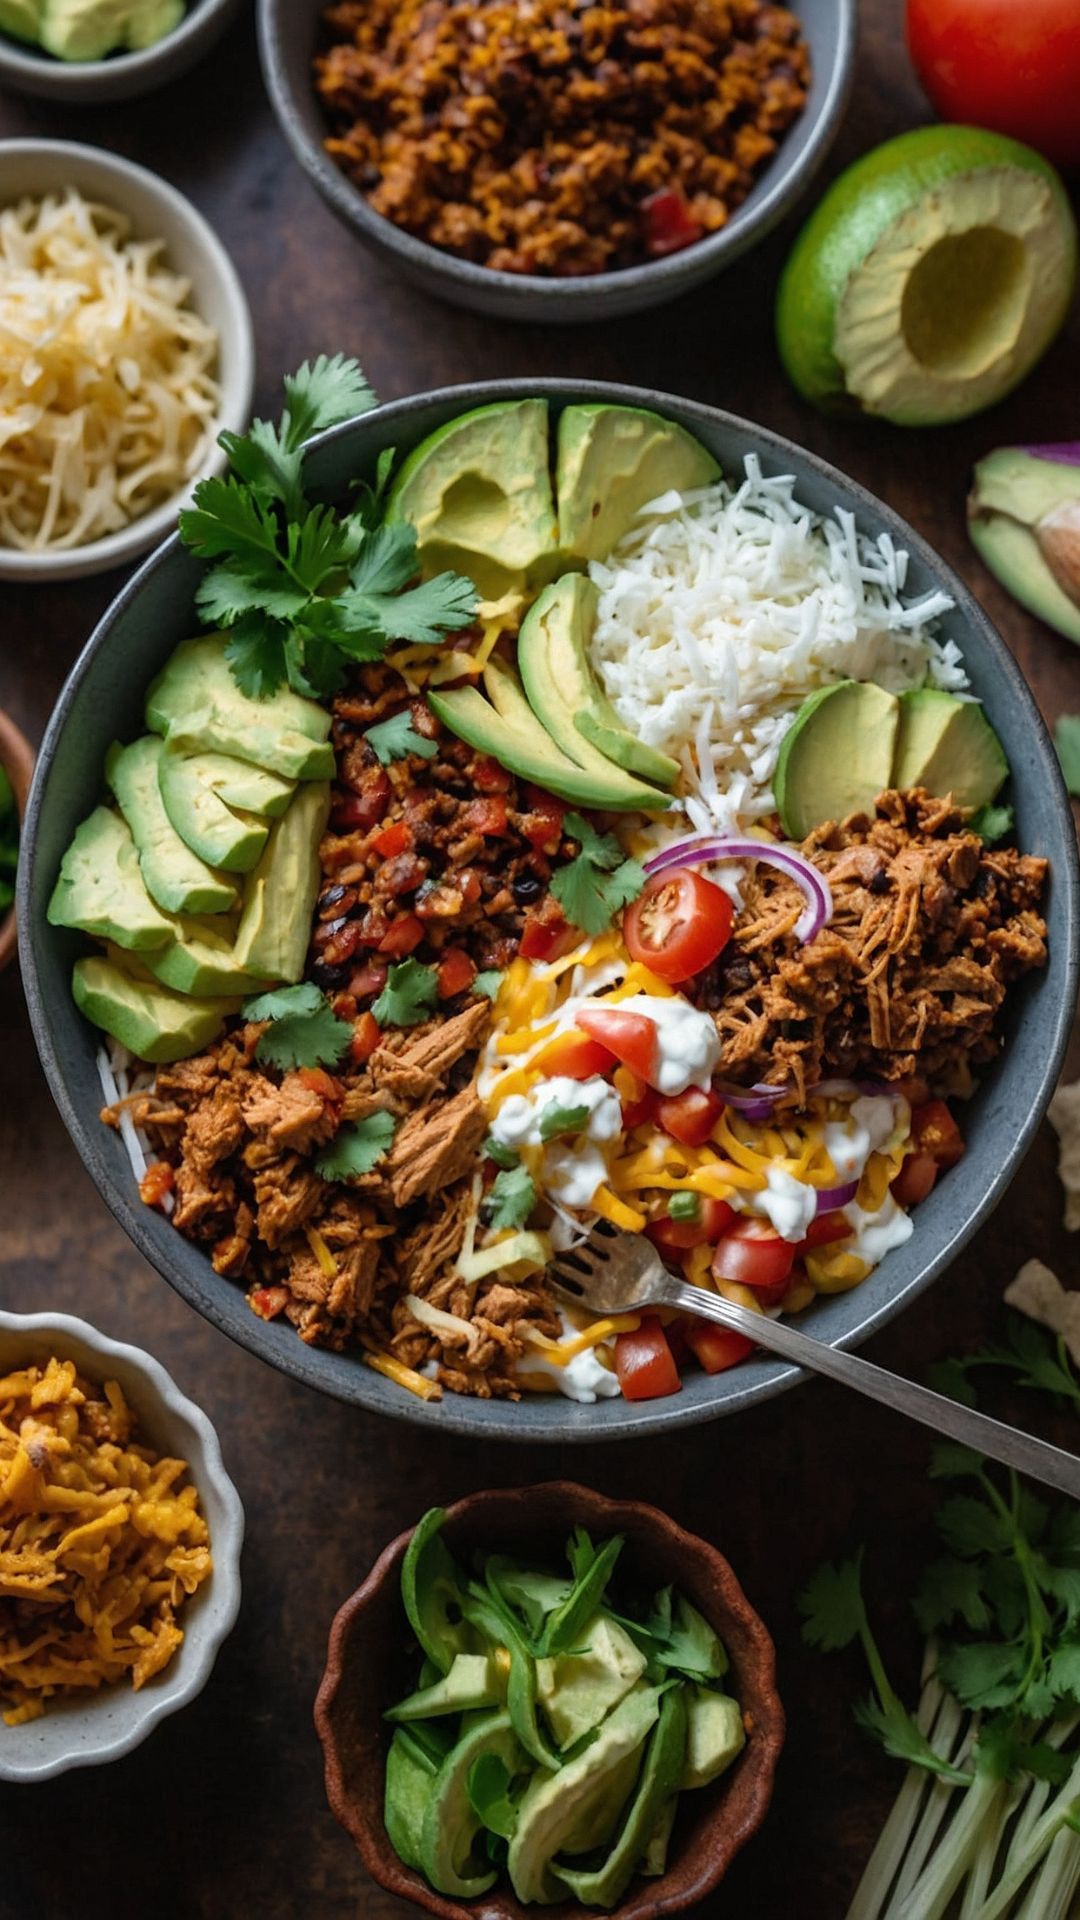
Step 4: Assemble Your Bowls
Now, let’s get the party going by assembling those bowls! Start with a base of rice. Top it with a generous portion of the seasoned turkey, then add your black beans and corn. The colors are fantastic! Finish with a handful of shredded romaine for freshness.
Step 5: Add the Sauces
Here’s where you can get creative. Drizzle on the sour cream and lime juice for a zesty kick. Then pile on your favorite toppings—cheddar, guacamole, jalapeños, and any other fixings you enjoy. Get ready for a flavor explosion!
Step 6: Garnish and Serve
Don’t forget to add the finishing touches—fresh cilantro, a squeeze of lime, or a sprinkle of tortilla strips for crunch. Serve these bowls warm or store them in the fridge to enjoy later. Trust me, they taste even better the next day!
Nutrition Information
Recipe Notes
- Ground Turkey: I always choose 93% lean ground turkey for flavor and moisture. With turkey, you get the protein punch without all the added fat.
- Taco Seasoning: Making your own blend means you control the salt and heat. Plus, it’s a lot more flavorful compared to store-bought options!
- Rice: I like to switch it up between brown and white rice depending on what I have on hand. Each brings a different texture to the dish.
- Beans: Black beans are packed with protein and fiber. They also add richness and help balance the dish. Rinsing them well washes out extra sodium too.
- Veggies: Feel free to wander into the vegetable aisle! Chopped bell peppers, diced tomatoes, or even shredded carrots can work wonders.
- Toppings: Customization is key. Everyone has different preferences, so letting diners choose their toppings makes it a fun meal.

Recipe Variations
- Make it Spicy: For the heat lovers out there, toss in some diced green chilies or sprinkle extra cayenne pepper into the turkey mixture.
- Go Vegetarian: Swap turkey with extra beans, jackfruit, or quinoa for a filling meat-free option.
- Change the Base: Turn this into a taco salad instead of a bowl! Use crisp lettuce instead of rice for a lighter meal.
- Add Fruit: Add diced mango or pineapple to the bowl for a sweet contrast to the spicy flavor.
- Use Different Protein: Ground chicken or even sautéed shrimp can be delicious alternatives to turkey, allowing for a flavor twist.
- Creative Dressings: Instead of sour cream, try Greek yogurt for a creamy, healthier topping, or even a spicy salsa to give it a punch!
Turkey Taco Lunch Bowls
Ingredients
Equipment
Method
- Start by mixing all the taco seasoning ingredients in a bowl. This is the heart of your bowl, infusing your turkey with bold flavor. I love the smell that fills my kitchen as the spices blend together; it’s like an instant fiesta!
- In a skillet over medium heat, sauté the chopped onion until golden. Add the ground turkey and cook until browned, breaking it up with a spatula. This is my favorite part. Watching the turkey sizzle and change color feels oddly satisfying. Once it’s browned, stir in the taco seasoning, tomato concentrate, and the water. Cook for another 5-7 minutes. You’re looking for a thick, juicy mixture.
- While the turkey cooks, steam your rice according to package instructions. It adds a nice base to soak up all the delicious flavors. I usually opt for brown rice for added nutrients, but white rice works just as well. Fluff it up and set aside.
- Now, let’s get the party going by assembling those bowls! Start with a base of rice. Top it with a generous portion of the seasoned turkey, then add your black beans and corn. The colors are fantastic! Finish with a handful of shredded romaine for freshness.
- Here’s where you can get creative. Drizzle on the sour cream and lime juice for a zesty kick. Then pile on your favorite toppings—cheddar, guacamole, jalapeños, and any other fixings you enjoy. Get ready for a flavor explosion!
- Don’t forget to add the finishing touches—fresh cilantro, a squeeze of lime, or a sprinkle of tortilla strips for crunch. Serve these bowls warm or store them in the fridge to enjoy later. Trust me, they taste even better the next day!
Nutrition
Notes
- Ground Turkey: I always choose 93% lean ground turkey for flavor and moisture. With turkey, you get the protein punch without all the added fat.
- Taco Seasoning: Making your own blend means you control the salt and heat. Plus, it’s a lot more flavorful compared to store-bought options!
- Rice: I like to switch it up between brown and white rice depending on what I have on hand. Each brings a different texture to the dish.
- Beans: Black beans are packed with protein and fiber. They also add richness and help balance the dish. Rinsing them well washes out extra sodium too.
- Veggies: Feel free to wander into the vegetable aisle! Chopped bell peppers, diced tomatoes, or even shredded carrots can work wonders.
- Toppings: Customization is key. Everyone has different preferences, so letting diners choose their toppings makes it a fun meal.
Tried this recipe?
Let us know how it was!Frequently Asked Questions
1. Can I meal prep these bowls?
Absolutely! These bowls are perfect for meal prep. Prepare your components in advance, then assemble them just before serving. They last in the fridge for up to 4 days.
2. How do I store leftovers?
Store any leftovers in an airtight container in the fridge. Assemble the bowls in separate containers if possible to keep things fresh and crisp.
3. What if I don’t like ground turkey?
No worries! You can easily substitute it with ground chicken, beef, or even a plant-based ground meat alternative.
4. Is this recipe gluten-free?
Yes! If you choose gluten-free rice and toppings, the bowls can be completely gluten-free. Always check labels to be sure.
5. Can I freeze these bowls?
Certainly! However, I’d recommend freezing only the turkey and rice mixture to maintain the texture of the fresh ingredients. Thaw in the fridge overnight to reheat.
6. What are good toppings I can use?
The sky’s the limit! Consider pico de gallo, chopped avocado, crispy tortilla strips, lime crema, or any other favorite taco toppings you enjoy.
Conclusion
There you have it—my Turkey Taco Lunch Bowls are not just a recipe; they’re an experience! From cooking to customizing, they offer a burst of flavor and a touch of fun. The adaptability of this dish ensures that no two meals need to be alike. Engage your taste buds, invite your friends, and enjoy these delightful bowls together.
Next time you’re feeling the taco craving, remember these bowls are quick, easy, and loaded with flavor. They combine freshness and quality without complicating your kitchen life. So roll up your sleeves, gather your ingredients, and let’s create some magical taco moments together!
